
Unlock Ergo Sum, Destined Heroes quest - Destiny 2
Complete all the Destined Heroes quest steps to unlock the Ergo Sum Exotic sword in Destiny 2.
The Destined Heroes quest is a long-form quest with a few sub-quests throughout. Completing this will unlock the Ergo Sum Exotic Sword in Destiny 2. This whole questline is a requirement in actually finishing The Final Shape quest, even though the campaign is technically completed at this point. Here are all of the steps you must do in order to unlock this new weapon.
How to unlock Ergo Sum

Source: Shacknews
Ergo Sum is a new Exotic Sword that can be unlocked by completing the quest, Destined Heroes. This is a quest given to you after completing The Final Shape campaign.
- Listen to the radio in the Tower in the Lost City
- Complete Queens, Part 1
- Speak to Micah-10 in the Arbor of Light
- Talk with Cayde-6
- Speak with Ghost
- Complete Found in the Dark and Lost in the Light
- Complete Queens, Part 2
- Speak with Ghost
- Take the Dyadic Prism to the Sacrarium
After you see the final cutscene in the campaign, you will be transported to the Tower in the Lost City (in The Pale Heart), where you can collect Destined Heroes. To do this, listen to the radio (this is also the first step of the quest). From here, you can get started with the quest proper.
Queens, Part 1
Head over to the banner in the Tower and load up the mission, Queens, Part 1. This mission requires you to clear out Lucent Hive using Hive Swords and elemental charges. To start with, defeat the Hive Knight and grab its sword, use the shield button to deflect shots from the enemy toward the Hive rune that has sealed the door.

Source: Shacknews
In the outdoor area, you must use the same blocking technique, except now you must deflect elemental attacks at the correct elemental rune. To your right is a Shrieker that spits out Void damage, deflect it at the Void runes. On the left are some Knights that attack with Solar damage, deflect it at the Solar runes using the Hive sword. Across the gap are Wizards. Deflect their Arc shots at the Arc runes. When all three runes in all three sets are destroyed, move on.

Source: Shacknews
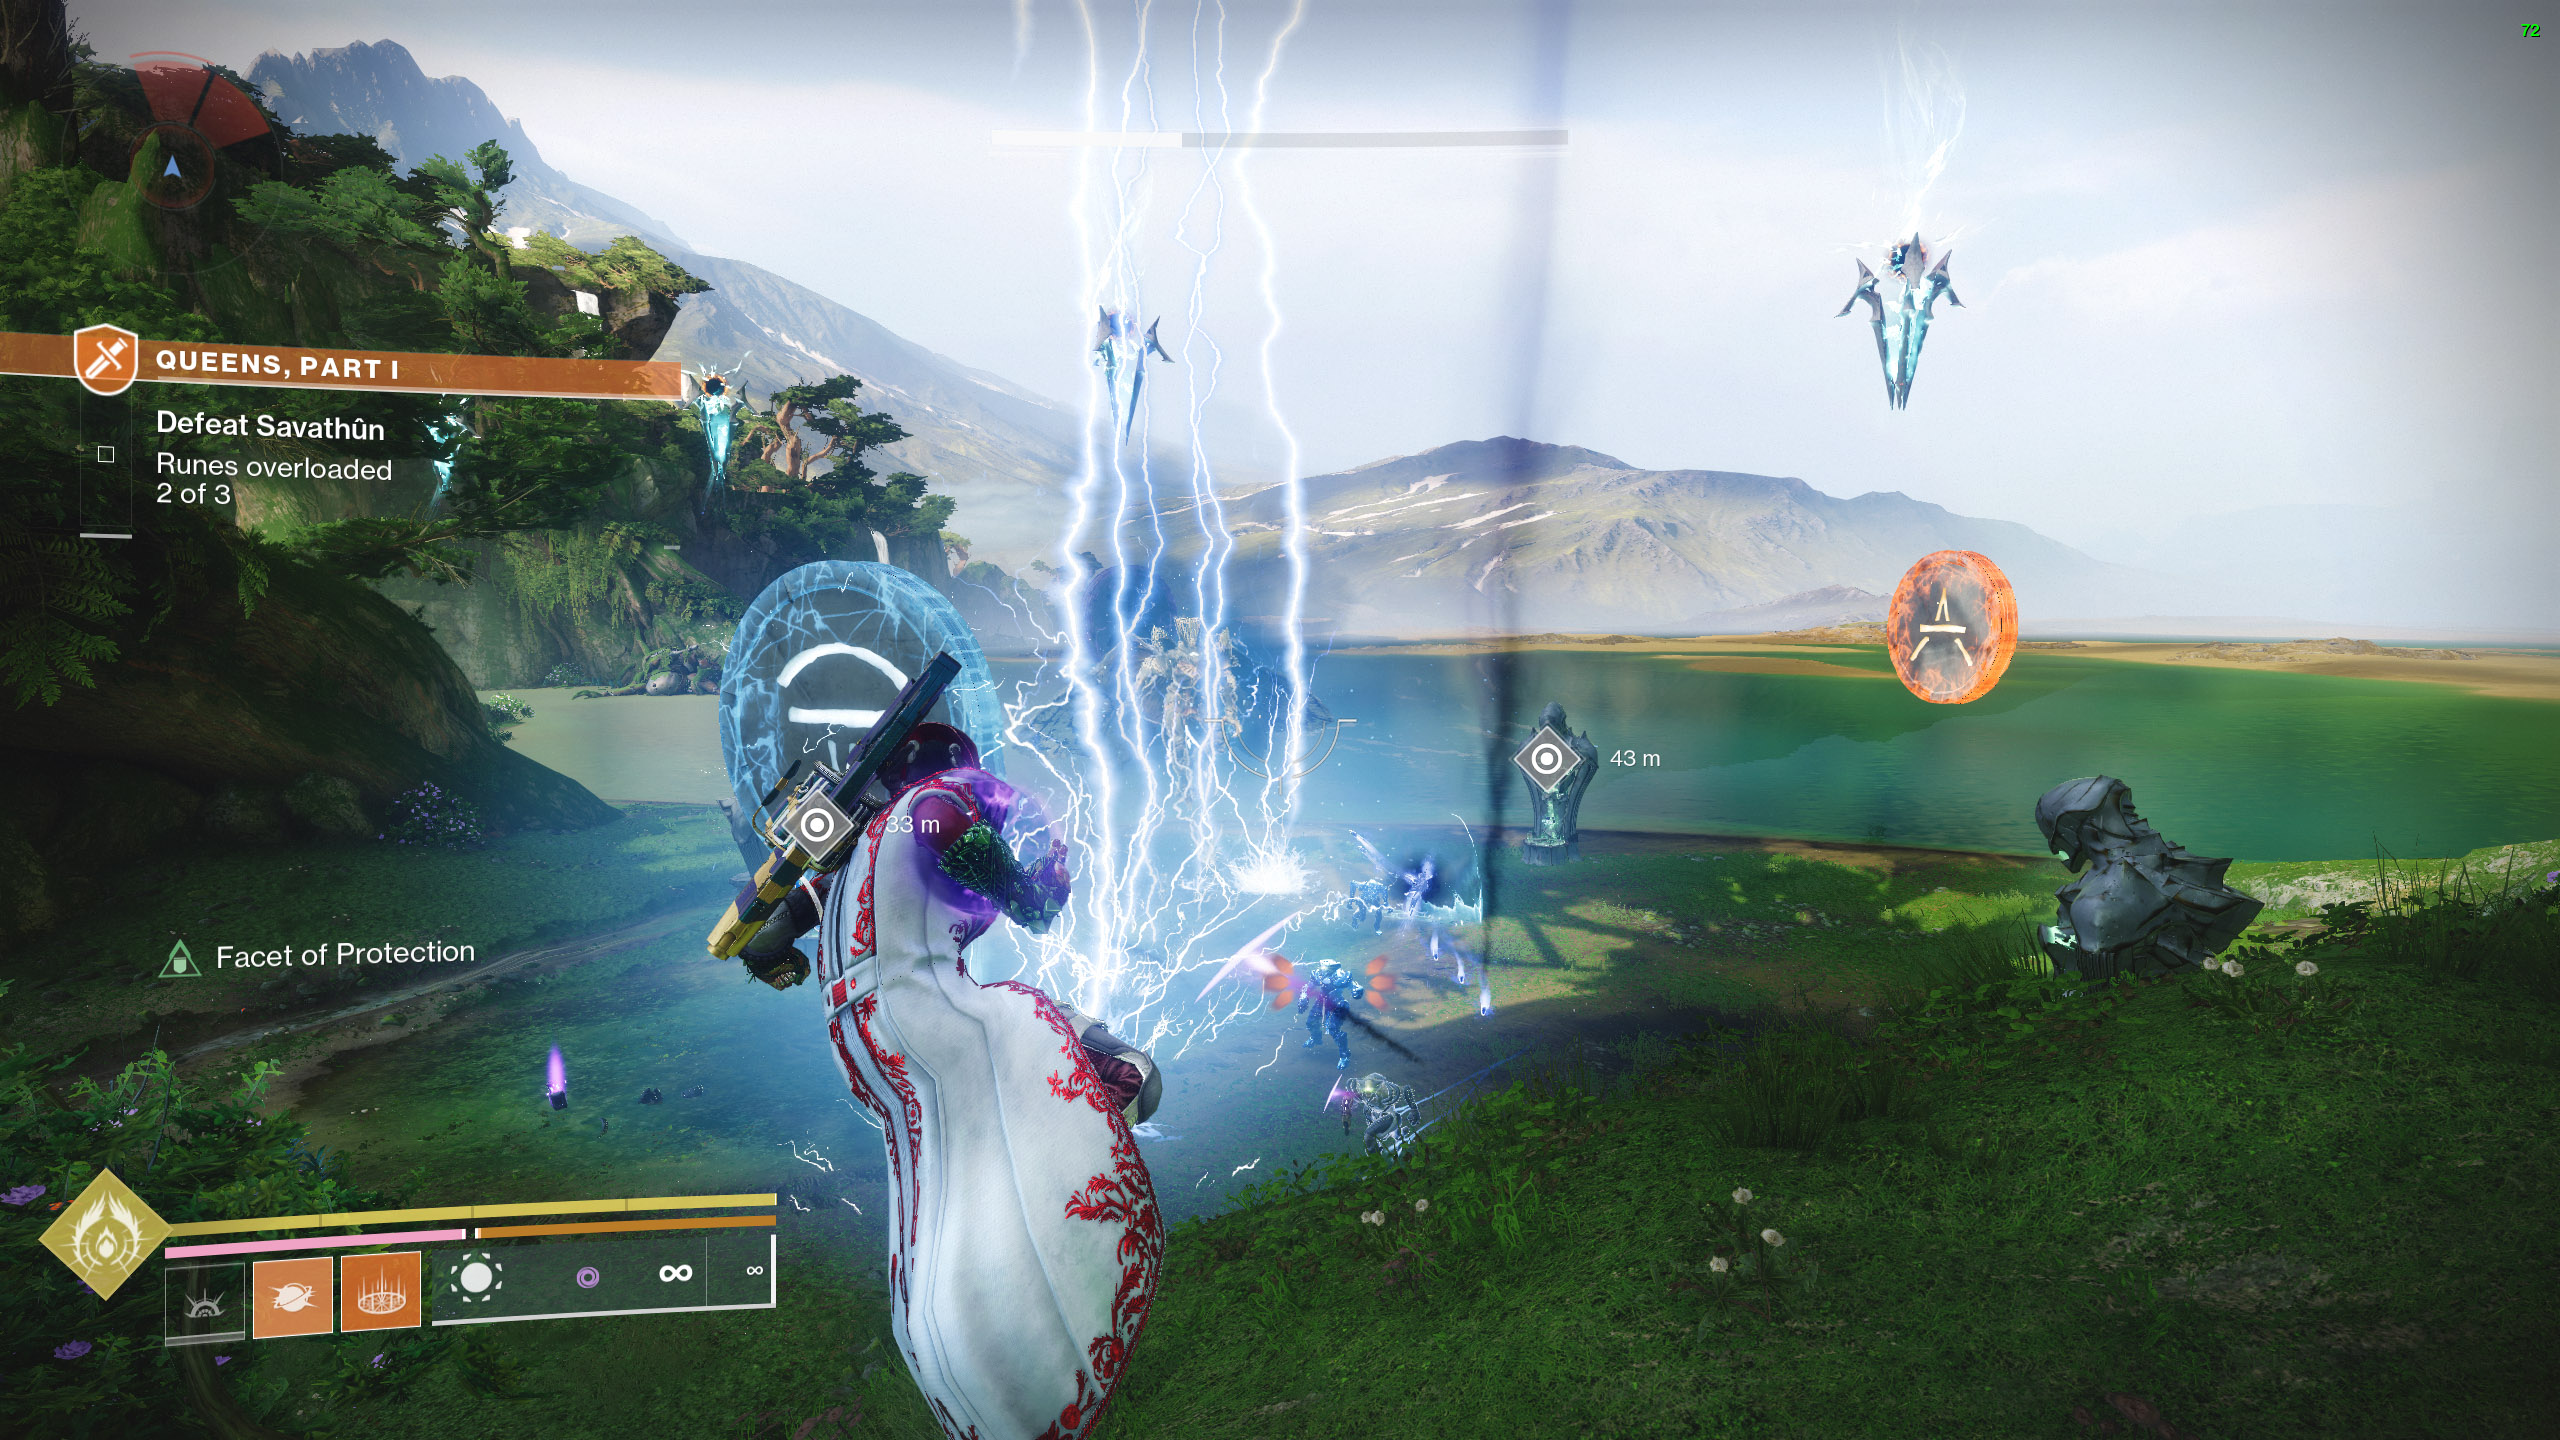
Fight through the valley to the beach where you will face Savathun. Here you must collect elemental charges and throw them at the corresponding runes: The Solar charge destroys the Solar rune, and so on. When all three are gone, damage Savathun until she moves on.

Source: Shacknews
In the last area, you will need to use the sword’s heavy attack to destroy the green orbs, freeing the elemental charges. As before, throw the orbs at the correct runes. When all six are removed, deal damage to Savathun until she leaves.
Speak with Micah-10
When you arrive back at the Tower, interact with the terminal to hear from Micah-10. The Pale Heart will be unlocked as a Destination and you can begin helping her track down unpartnered Ghosts.
Talk with Cayde-6
Head back to the courtyard and speak with Cayde-6. He’s leaning up against some crates up the stairs from the Postmaster. Speaking with Cayde-6 will give you the quest, Wild Card, which unlocks Still Hunt.
Speak with Ghost
Chat with Ghost and then pick up his two new quests under the Transcendence tab: Found in the Dark and Lost in Light.
Complete Lost in the Light and Found in the Dark

Source: Shacknews
You will now need to head off and complete two sub-missions as part of the larger Destined Heroes quest. These two quests reward you with a Darkness grenade and a Light grenade for your Prismatic subclass.
Lost in the Light

Source: Shacknews
Lost in the Light takes place in The Landing. Track it on the map and follow the route through the cavern to find a chest that it will give you another Prismatic grenade.
Next you’ll need to do a mission to uncover House Salvation’s operations in The Blooming. This can be launched from the cavern where you got your Prismatic grenade or from the Tower. This is part of the next quest step, The Hollow, Part 1.

Source: Shacknews
At the start of the mission, join Mithrax inside the cavern. Look to your left for a panel on the wall you can activate and then get behind the barrier by jumping up through the hole in the wall. Once inside, go to the back of the room and protect Ghost, if the connection drops, deploy him again. While this is happening, clear enemies. Once it’s done, go back and follow the waypoint onward.

Source: Shacknews
There will be two generators, which are basically the plates you saw in the campaign. Defeat the nearby Taken Captains and collect the motes they drop. Once you’ve collected five, you’ll need to take the mote to the opposite plate (take a Light mote to the Dark plate etc). Do this to both plates to destroy them.
Now head back to the main area and defeat Korha the Hollow. Once they hit half health, the two generators will need to be destroyed by dunking their opposite energy (Light into Dark, and Dark into Light).
After the mission, you’ll spot another Prismatic chest with your next ability. There will be mission banner behind it called The Hollow, Part 2.

Source: Shacknews
This mission takes you back to Europa with Mithrax to hunt down Korha. You’ll need to escort an explosive Shank at certain parts, and when it reaches a door, shoot it to blow the door open.
For the boss fight against Korha, the goal is to use exploder Shanks to remove his shield. To do this, defeat the Servitors on the side and deposit the charges they drop into the generator in the center. Let the exploder Shanks get close to the boss and then shoot them. Repeat this process until Korha is defeated.
Found in the Dark
Found in the Dark takes place in The Seclusion. This mission has you working with Empress Caiatl to destroy generators. As before, track the quest on your map and follow the waypoint until you reach your Prismatic chest and reward. Just beyond the chest is the banner to launch the mission.

Source: Shacknews
Fight through the buildings, defeating the Shadow Legion and their Psions as you go. In the outdoor area, kill enemies until a Major Psion spawns, defeat it and plant its antenna in the generators. When both generators are destroyed, press onward.

Source: Shacknews
When you get to the last area, clear the generators again by defeating the Psions and then the minibosses that appear. Attach the antenna to the generators as you did before. A boss will spawn, but you won’t fight it alone. Defeat it to be returned to the tunnels where another Prismatic chest awaits.
Find the banner in the back of the room and launch the next part of the quest, Home Part 2. This one has the same objective of destroy generators, but this time it’ll be cold. Stand near the fires to refresh the debuff and don’t let it hit zero. The generators will be shielded by Psions and when they’re dead, Majors will spawn that have charges you can throw at them.

Source: Shacknews
The final part of the mission is at the memory of Zavala’s home. Destroy the generators on the high platforms by popping the Psions and throwing charges at them that are dropped by Major Cabal units. When the platforms disappear, a Goliath tank will be your next target. Defeat any Psions that spawn inside bubbles, as they will be protecting it. You’ll need to defeat three pairs of Psions to take it down. Once it explodes, you’ll be transported back to the tunnel to claim your next Prismatic reward.
Queens, Part 2

Source: Shacknews
Next up is Queens Part 2, which can be launched from the Tower in the Pale Heart. This has you investigating spikes in Taken energy in the Refraction area.

Source: Shacknews
Fight through the area, being sure to listen to what Mara Sov says. She’ll direct you to defeat Taken, which will charge you up, allowing you to cross the chasm to the other side. Defeat the enemies in the blue crystal cave and then look up at the ceiling to find a hole you can climb through to continue.

Source: Shacknews
In the arena upstairs will be several enemies and eventually fissures of Light. Interact with them to liberate the Light, they will typically spawn in sets of three. When the last ones are closed, a couple of Tormentors will spawn, but you’ll be aided by your new Wizard friend.
Speak with Ghost

Source: Shacknews
Have a chat with Ghost at the Tower in the Pale Heart to collect the Dyadic Prism. This goes into your Energy weapon slot, so make sure you have room.
Make Your Own Fate

Source: Shacknews
This next step has you visiting the Sacrarium to claim your reward. This area is all the way over in the right, but you can just launch it directly from the quest. Either launch it from the quest or use the quick travel point and then interact with the sword to start the mission. Approach the statue and claim your Exotic sword.
Ergo Sum perks

Source: Shacknews
Ergo Sum is an extremely unique sword in that it sits in your Energy weapon slot and uses Special ammo. Additionally, its Exotic perk is random as is its elemental type and frame. You can farm more Ergo Sum drops by completing the Overflow event on The Pale Heart or by completing Pathfinder paths. Its main perk that doesn’t change is as follows:
- Transcendent Duelist: This weapon collects less ammo. Final blows with this weapon accelerate Light and Darkness mastery. Deals increased damage while Transcendent, defeating targets lengthens Transcendence.
With the Ergo Sum Exotic Sword unlocked, you can get to farming for your perk roll. This thing can come with some powerful perks, like Wolfpack Rounds. Be sure to check out our Destiny 2 Strategy Guide for more help.

-
Shacknews

 reply
replySam Chandler posted a new article, Unlock Ergo Sum, Destined Heroes quest - Destiny 2

