
Facility guide - GoldenEye 007
A walkthrough for Facility in GoldenEye 007, including Agent, Secret Agent, and 00 Agent difficulties.
The second mission in GoldenEye 007 is Facility and follows on immediately from the first. This mission tasks Bond entering the lab, rendezvousing with 006, destroying tanks, and avoiding killing scientists. Below is the location where you can find Dr.Doak, the various difficulties, and everything else you need to know.
Facility walkthrough
Use the links in the table to jump to the section you need. All of the difficulties have roughly the same objectives, except for contacting the double agent. For Secret Agent and 00 Agent, the double agent scientist gives the door decoder, which is the only way to the rendezvous point in the bottling room.
Gain entry to the laboratory area
Gaining entry to the laboratory area is quite far into the level. If you’re playing on Secret Agent or 00 Agent, you might have already made contact with the double agent. Regardless, the path to the laboratory area is always the same.

Source: Shacknews
Facility starts out with Bond in the ventilation system above the restrooms. Take the left turn and look down into the stall. You’ll be able to eliminate one soldier of the four soldiers in this room before you drop down. Shoot his hat off and then finish him off.


Clear out the restroom and then exit to find yourself at the top of the stairs. The door at the bottom of the stairs contains a terminal that opens up another security door. However, this first door is locked. The key is being held by a soldier opposite the door. Find him standing by himself in the hallway, staring at a door. Neutralize him and grab the key card he drops.

Source: Shacknews
Open the door at the bottom of the stairs (the key card will unlock it) and dispatch the soldiers inside. Be careful not to blow up the computer terminal. Look through the window to see another set of doors. The terminal opens up the one on the left.

Source: Shacknews
Use the terminal, exit the room, and run down the hall and through the security door. Go quickly lest the door shut and you need to hit the terminal again. Pass through the next doors, fight down the long hallway (being mindful not to hurt the scientists), and go through the security doors at the end.

Source: Shacknews

Source: Shacknews
The next section has a security room in the center with two terminals. One controls the left door, the other controls the right. Use the terminal to open the left door and run through to complete the first objective.
Contact double agent

Source: Shacknews
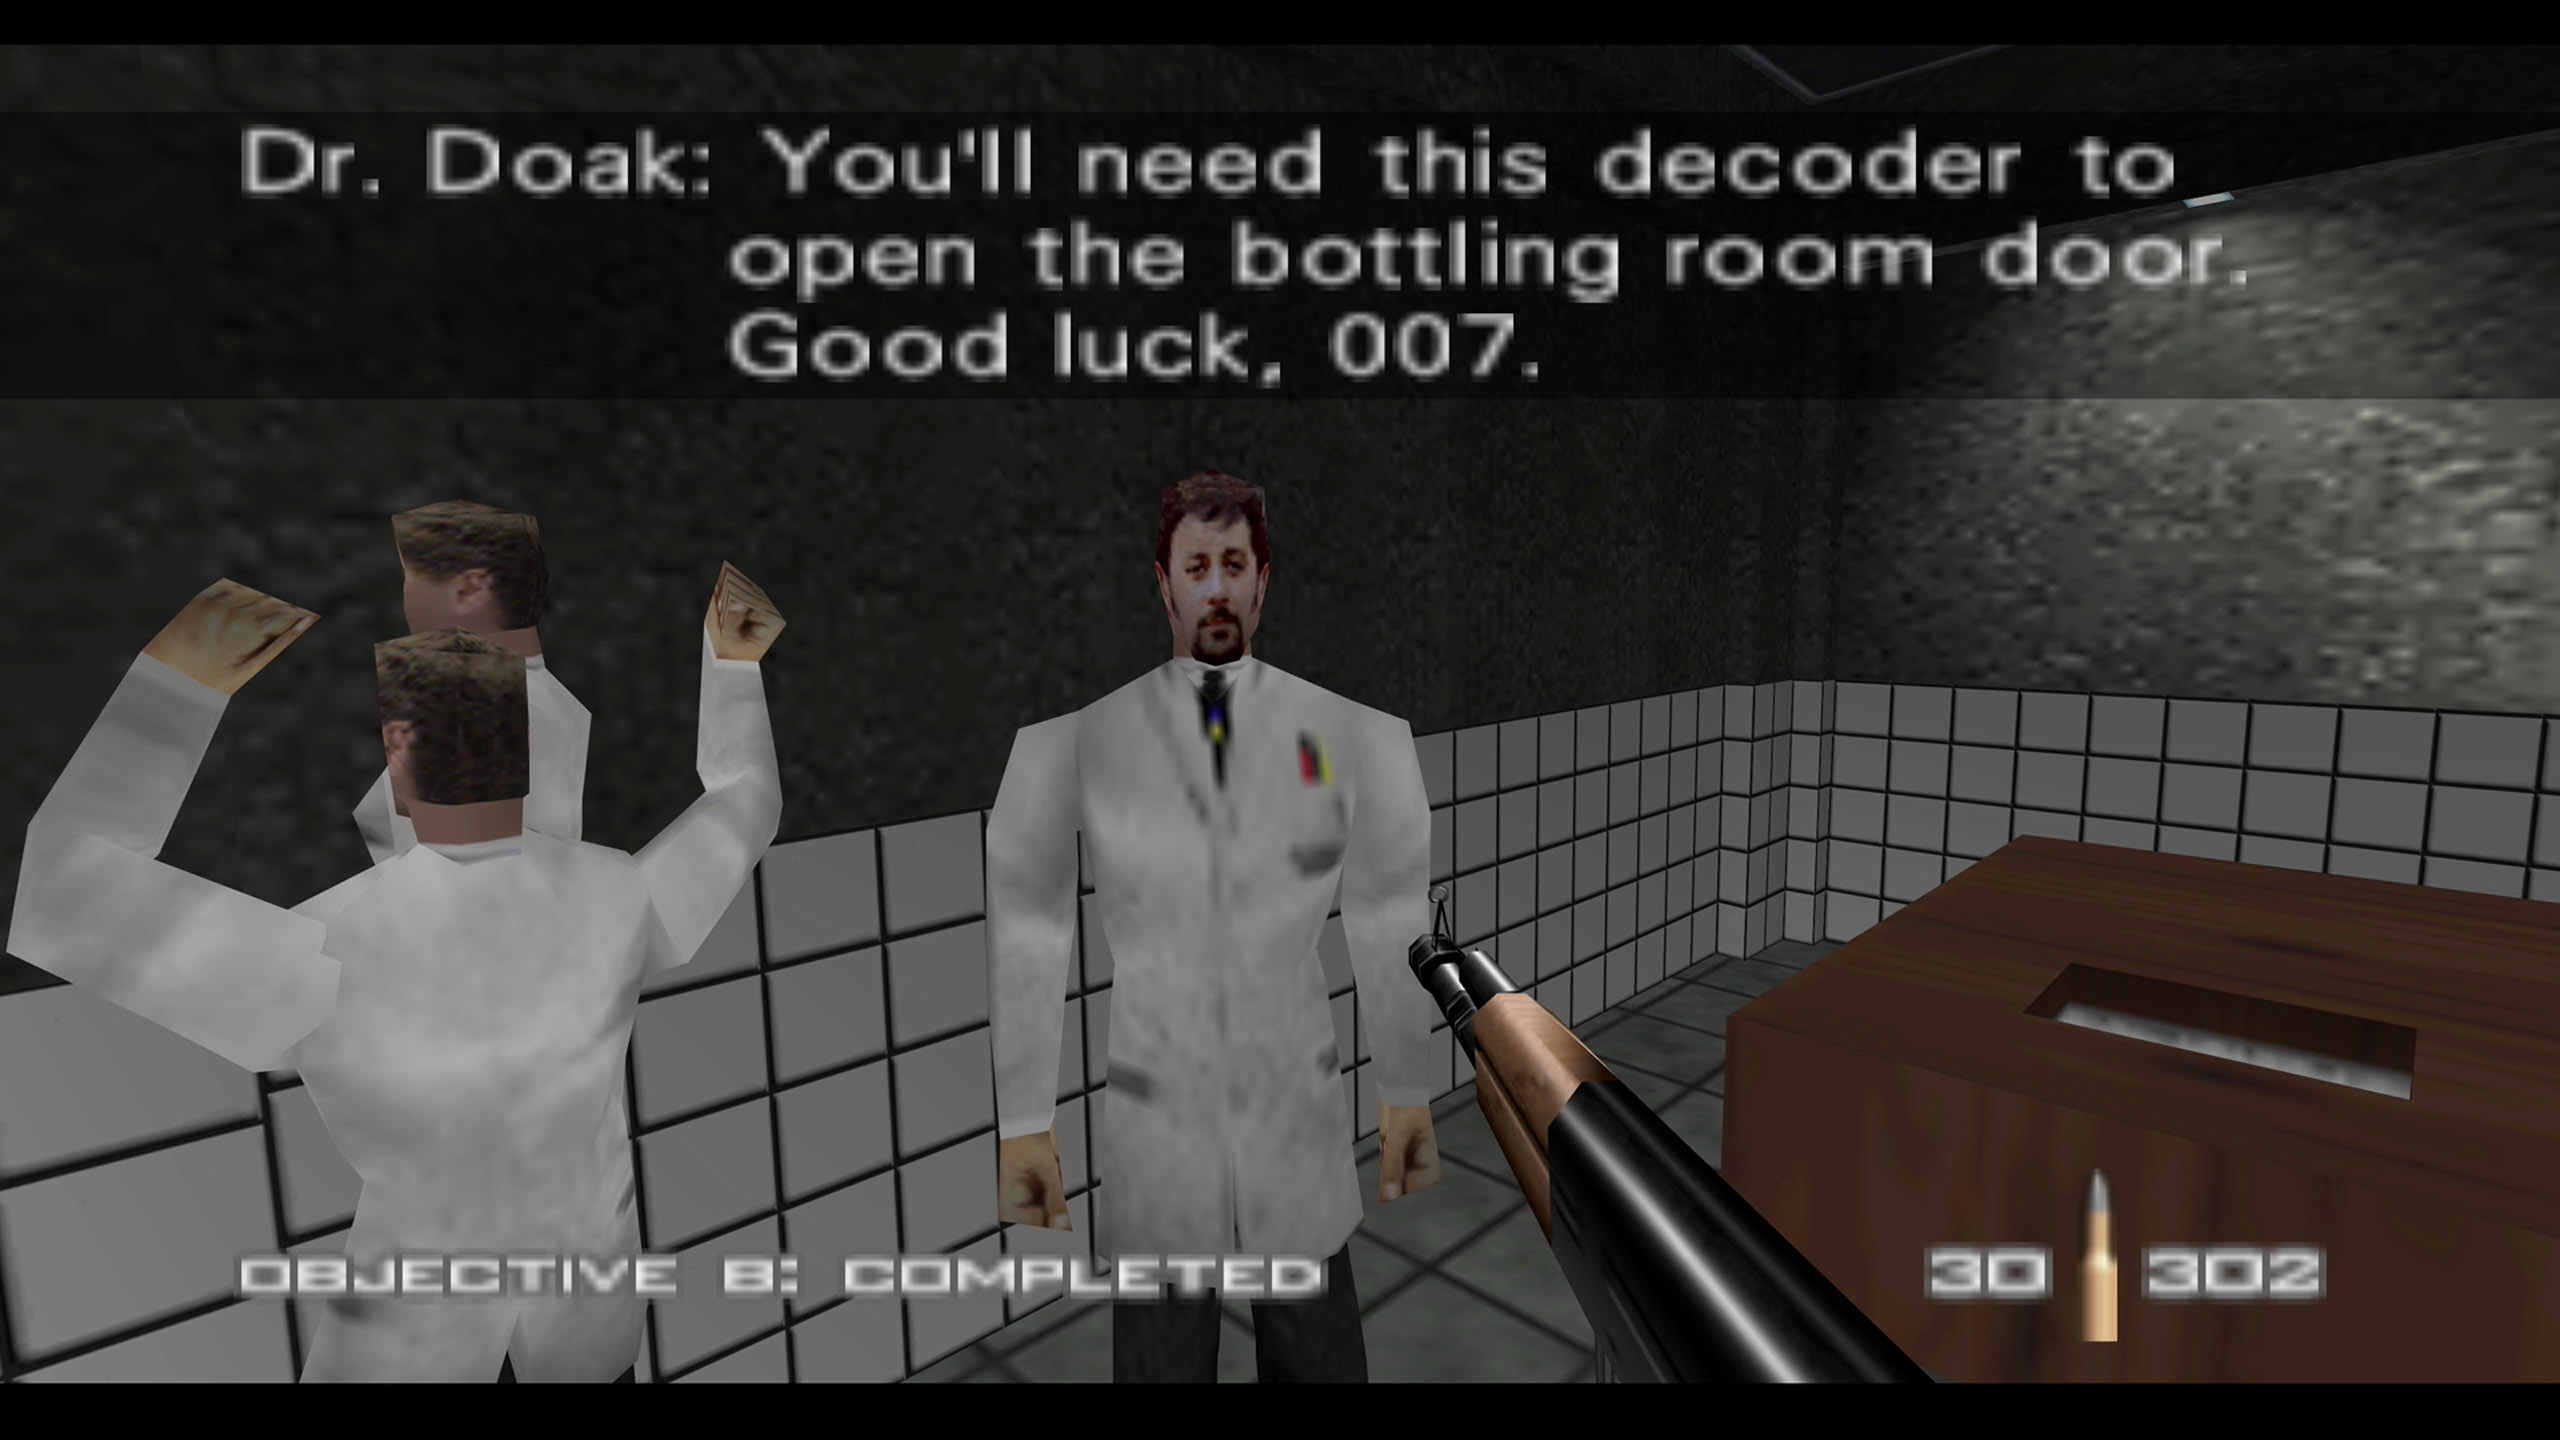
For those playing on Secret Agent or 00 Agent, Dr Doak is the double agent you must contact. He is disguised to look like a scientist. You’ll recognize him as he’s the only one holding an item and isn’t afraid of you. He also has brown hair and a goatee.

Source: Shacknews
Unfortunately, Dr Doak can spawn in one of several locations. The first two locations he can spawn are on either side of the long hallway that is unlocked using the first terminal. Check both rooms to see if he is there.
Source: Shacknews
The next place he’ll be waiting is in the room on the right where the two security terminals are located. Instead of using the left terminal to gain access to the lab, use the right one to access a larger room with a few soldiers and scientists.

Source: Shacknews
Finally, he may also be in the lab section. This is the area you access as part of the first objective. Look inside each lab to see if he’s in there. You can just peer through the glass.
When you’ve finally found Dr Doak, he’ll give you the door decoder. The door to the bottling room is locked on Secret Agent and 00 Agent.
Rendezvous with 006

Source: Shacknews
The rendezvous point with 006 is inside the bottling room. This is at the end of the laboratory section. If you’re playing on Secret Agent or 00 Agent, get to the door, open your inventory, and select the Door Decoder. Approach the door and use the “shoot” button to decode the door.

Source: Shacknews
Go straight down the stairs and speak with 006 or clear out the two soldiers in the room up the top first. When Alec Trevelyan says “For England – James” the objective will complete.
Destroy all tanks in bottling room

Source: Shacknews

Source: Shacknews
To destroy the tanks in the bottling room, equip the remote mines and throw them onto the side of the canisters. You’ve only got five, so space them out a bit. When you’re ready, detonate the mines using the detonator. The detonator can be equipped via the watch or by cycling through the weapons.
Minimize scientist casualties
This task will automatically complete at the end of the mission. The only way to can fail this objective is if you kill any of the scientists. On lower difficulties, the game will forgive you for accidentally killing a couple.
With Facility completed, you’ll be looking to escape via the mission, Runway. Stay tuned to Shacknews as we bring you more on GoldenEye 007 now that it’s available on Xbox and Nintendo Switch.

-
Shacknews

 reply
replySam Chandler posted a new article, Facility guide - GoldenEye 007
-
-
Yeah I must've played this level 1000 times as a kid
-

