PC graphics settings guide - Rainbow Six Extraction
Ubisoft's new cooperative shooter is out now. Make sure you get the best possible visuals and performance with our settings guide.
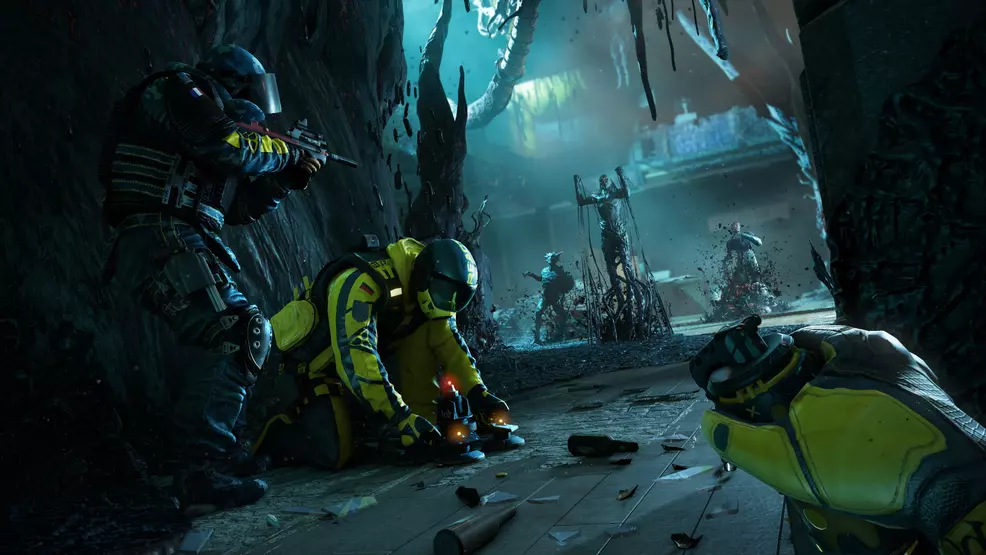
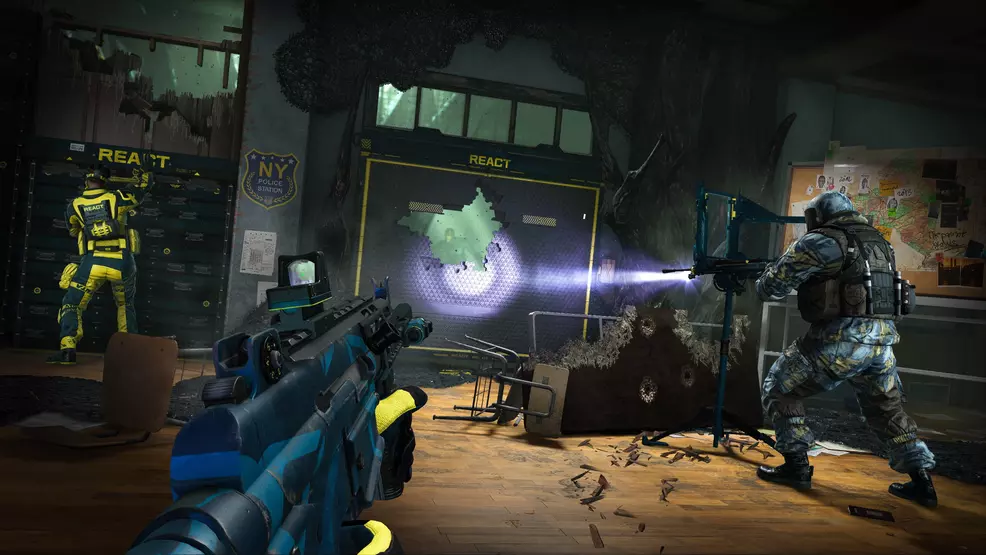
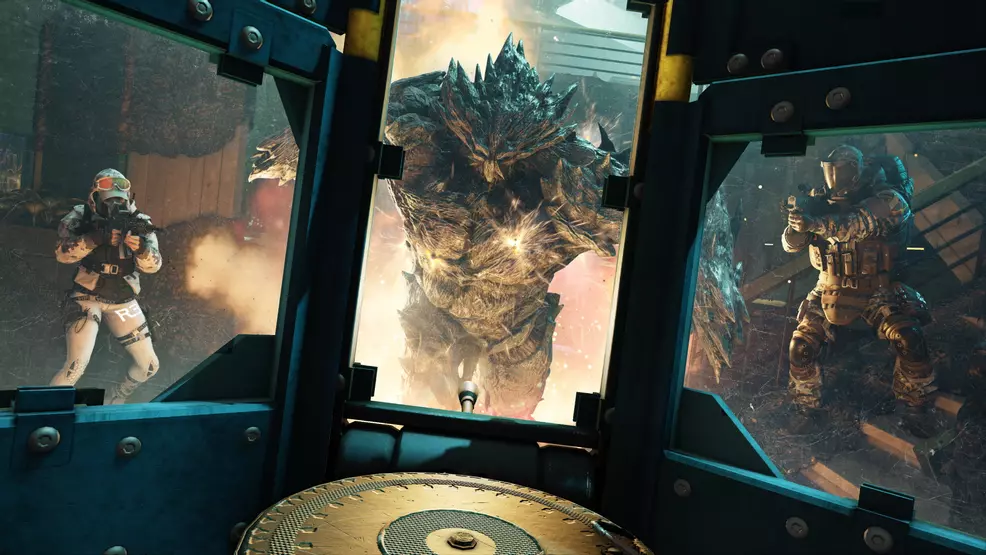
If you happen to love Rainbow Six Siege, but kind of wished it had more aliens that were powerbirthed from wall pods, then Ubisoft’s newest cooperative fps could be just the ticket. Rainbow Six Extraction takes parts from the successful Siege formula and applies them to a cooperative shooter where life and death really matter.
Thanks to the foundations established previously by Rainbow Six Siege, Extraction has a seasoned game engine to run on and will be playable on a wide range of PC hardware. That being said, there is always room for improvement when it comes to visual fidelity and performance. We’ve taken the time to go through Rainbow Six Extractions PC graphics settings so you can have a stronger idea of which options provide the biggest visual bang for your buck and which you can turn down to get a higher frame rate.
Rainbow Six Extraction PC graphics settings

Display
Resolution: This setting determines the output resolution that the game sends to your display when using fullscreen mode. It will also determine the rendering resolution of the game should you opt to play in windowed mode.
Display Mode: This option instructs the game to run in a window, a borderless fullscreen window, or in exclusive fullscreen mode.
Refresh Rate: This setting specifies the output refresh rate sent to the display when using exclusive fullscreen mode. It is recommended to leave this set your display’s native refresh rate.
Aspect Ratio: Determines the aspect ratio of the video output. Auto adjusts the ratio based on the chosen resolution. You can also force certain aspect ratios like 4:3, 16:9, 21:9, and more.
VSync: This setting enables or disables the use of in-game vsync to prevent screen tearing.
Field of View: This determines the viewport in which the game is rendered. Higher settings provide more information on-screen at the cost of visual distortion at the edges of the screen at higher levels. Lower settings can improve performance sometimes but can lead to a claustrophobic feeling or even nausea in some players. This setting usually comes down to personal preference and how far you sit from your display.

Brightness: Governs the in-game brightness.
Widescreen Letterbox: This setting will add black bars to the top and bottom of the frame to mimic an ultrawide or scope-style presentation when using taller aspect ratios.
HDR: This setting toggles HDR output on or off. Users will need to enable HDR from within the Windows 10/11 settings menu before launching Rainbow Six Extraction for this toggle to be active. This requires a compatible GPU and HDR-capable display.
Graphics
Overall Quality: This option offers presets that will adjust multiple graphical effect settings at once. If you just want to turn some stuff down really fast to gain some more frames, this setting should be your first stop.
Resolution Quality: Users can choose between the fixed or dynamic output of the game’s internal rendering resolution. When opting for dynamic, the game engine will automatically lower the rendering resolution in an attempt to maintain the frame rate specified in the Dynamic Resolution Target Framerate setting below. Dynamic resolution is used by loads of console games to maintain steady performance.
Dynamic Resolution Target Framerate: This setting determines the frame rate that the Dynamic Resolution solution will try to maintain.

Texture Quality: Determines the quality level of textures in the game world where higher settings provide a sharper, more detailed result. We recommend avoiding the Ultra option when paired with high resolutions like 4K unless you have a GPU with 8GB of VRAM or higher. The Rainbow Six Extraction settings menu also has a handy VRAM allocation slider on the left side of the screen to show how much the game will use with the currently selected options.
Texture Filtering: This governs the amount of anisotropic filtering applied to textures at oblique angles to the player’s field of view. Unless you are having serious performance issues, we suggest leaving this one at 8x or 16x for optimal visual quality.
NVIDIA Reflex Low Latency: This will enable or disable NVIDIA Reflex. This feature is limited to newer NVIDIA GPUs and can significantly reduce overall system latency in supported games. Lower latency means less time between the moment your finger taps the fire button and the game responds on-screen.
Latency Flash Indicator: This setting will place a latency indicator in the corner of the screen. This is helpful for taking measurements with external equipment, but not really important at all for most players.
NVIDIA DLSS: This will enable NVIDIA DLSS upscaling, allowing higher performance with minimal visual loss. It is only supported on NVIDIA RTX-class GPUs. It works best when used at high resolutions like 4K.
Shadow Quality: This governs the resolution of shadow maps within the game. Lower values will produce shadows with more jagged or visually noisy edges. Higher settings produce better shadows, but with a hefty performance hit. Most players will be happy with the Medium setting as it offers solid performance while maintaining acceptable shadow quality.
Shading Quality: This setting allows players to specify the quality level of game object shading. Higher settings will improve materials quality and how certain objects reflect and absorb light.
Reflection Quality: Players can choose how detailed in-game reflections are rendered. On the lowest setting, only sub-mapped reflections will be seen, while the Medium toggle introduces the more accurate screen space reflections (though rendered at half resolution). The Medium setting should work well for most players, but high-end PC players will appreciate the Ultra quality reflections.
Level of Detail Quality: This setting determines the distance at which the Extraction game engine swaps out 3D models for those of lower quality to save on performance. Lower settings will have more pop-in while Ultra allows high-quality objects to be rendered at the farthest possible distance from the player’s view.

Effects Quality: Governs the quality of particle effects during play. Think sparks, fires, smoke, and debris from explosions. Higher settings allow for more and higher-detail particles.
Anti-Aliasing: This toggle lets players choose from different anti-aliasing methods. FXAA has the lowest performance hit but usually offers the lowest image quality, especially when moving fast. TAA works well to clean up both edges and transparencies at the cost of some blur. When NVIDIA DLSS is enabled, this setting will be greyed out.
T-AA Sharpness: When using temporal anti-aliasing, this setting will allow players to add a sharpen filter to help compensate for the blur. This has no impact at all on performance and comes down to user preference. This setting will be disabled if FXAA or NVIDIA DLSS is enabled.
Ambient Occlusion: This controls the method used for simulated ambient occlusion (darkening areas where two objects intersect). Higher levels will produce more accurate shading in corners, though it comes with a performance hit.
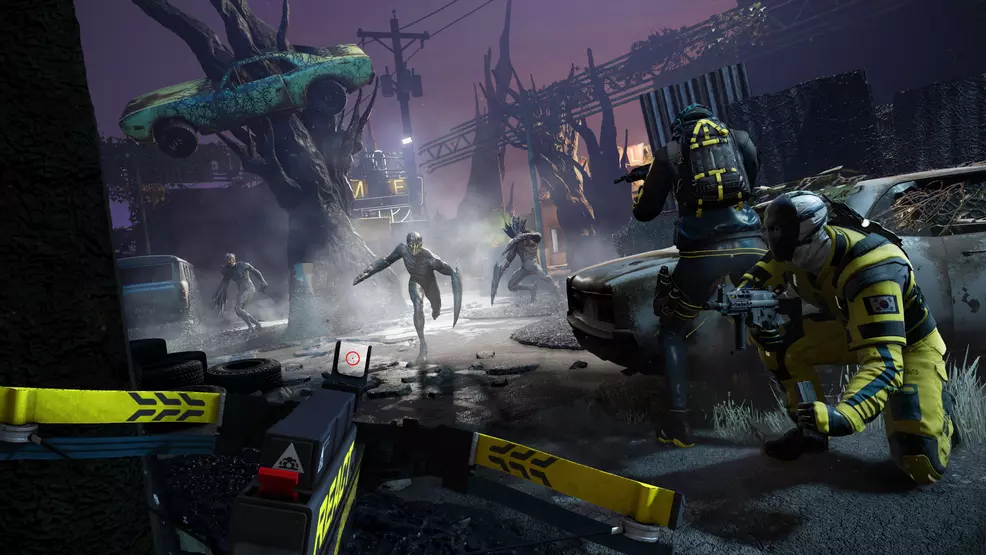
Sprawl Quality: This setting controls the detail level of the icky, gooey material that the Archæans feel compelled to smear all over the game environment.
Lens Effect: This toggle allows players to enable or disable effects that mimic a camera lens, including lens flares and light bloom. This one comes down to personal preference as any performance hit is negligible.
ADS Depth of Field: This determines if simulated depth of field effects are applied to the screen when you aim down the sights with your firearm. When enabled, you’ll notice that most of the game window will be blurred outside the aiming reticle.
For more coverage on Rainbow Six Extraction, including guides and our review, be sure to keep checking in here at Shacknews.
-
Chris Jarrard posted a new article, PC graphics settings guide - Rainbow Six Extraction
-


