Prophecy dungeon guide - Destiny 2
A complete Prophecy dungeon guide, including a walkthrough of each encounter, for Destiny 2's latest end-game activity added with Season of Arrivals.
The Prophecy dungeon was introduced to Destiny 2 with Season of Arrivals. This latest dungeon has players seeking the Nine in order to gain knowledge on the imminent threat of the Darkness. In this Prophecy dungeon guide, we’ll be outlining each encounter as well as the best strategies for the boss fights, including preferred weapon loadouts.
Prophecy dungeon guide

The Prophecy dungeon takes place in the back of Drifter’s ship. The idea of the Prophecy dungeon is that the Guardians are seeking the Nine in a bid to ask them a question about the incoming Darkness that is awakening around the universe.
There are a few main encounters in Prophecy and, for the most part, they all utilize the same core mechanics. Use the below links to jump to the appropriate section:
- Phalanx Echo boss fight
- Wasteland – Navigate the expanse
- Hexahedron
- Wasteland – Follow the Kell Echo
- Singularity – Cross the deadsea
- Kell Echo boss fight
The Prophecy dungeon has a recommended Power of 1040. This is the Power of the enemies at the very start of the dungeon with the difficulty ramping to 1060 in the final encounter. Before you begin, make sure you’re at least approaching the max Power level in Destiny 2 for the season unless you want to struggle and, while you’re at it, ensure you know how to start the Prophecy dungeon. You can get by one terribly under-leveled Guardian, but obviously this dungeon becomes easier as you near and surpass 1,060 Power.
Prophecy dungeon weapons and builds
Destiny 2 in its current form has a lot of room for personal preference. In the case of the Prophecy dungeon, provided you’re high enough Power, any weapon will get you through the encounter. However, we have some suggestions to consider if you're not sure where to begin.
- Divinity
- Falling Guillotine
- The Mountaintop
- Witherhoard
- Xenophage
Divinity was an unexpected boon during the Phalanx Echo fight. Despite one player essentially unable to deal maximum damage, the buff from Divinity ensured the other two players were dealing vast amounts of damage.
On top of Divinity, Falling Guillotine (the sword from the Season of Arrivals season pass), is one of the highest DPS weapons at the moment. When paired with Weapons of Light, Shadowshot, Divinity, or Opressive Darkness (Season of Arrivals artifact mod) it can dish out unprecedented damage.
Finally, The Mountaintop was able to make short work of Hobgoblins and Knight Echoes. This weapon is rather difficult for the casual player to chase, so if you don’t have it yet, it’s likely not worth the time investment in getting it just for the dungeon. A really good alternative (especially for quickly taking care of Knight Echoes) is Xenophage. One or two shots and the job is done.
Finally, Witherhoard is great because it can provide a wall between yourself and rushing enemies, or be fired from cover and allow you to duck away. This is especially true if you're under-leveled and can't stay alive. Fire a Witherhoard shot, then duck into cover and stay alive. Just remember to be careful of killing Knight Echoes as you move in and out of the light.
Heaven/Hell
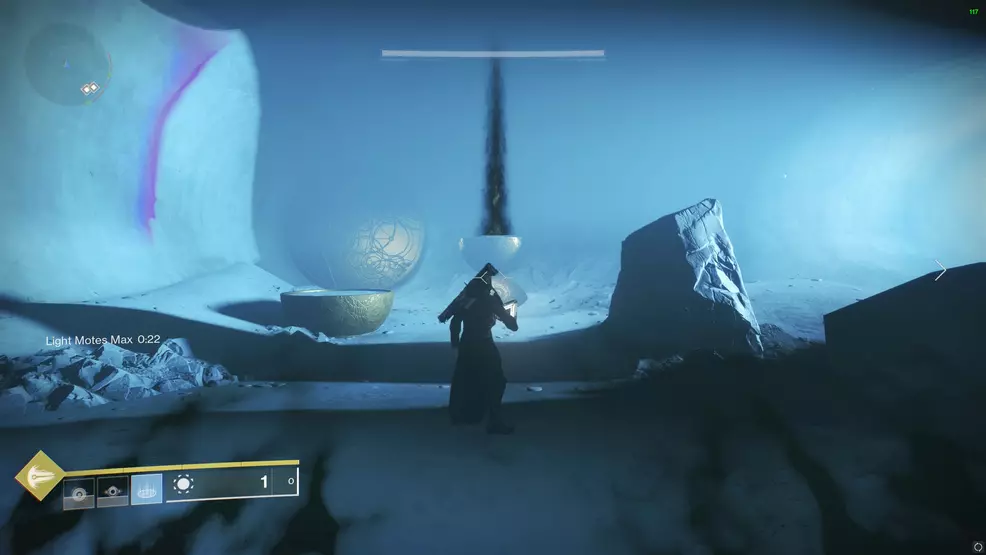
The first hallway in the Prophecy dungeon introduces you to the idea of Light Motes and Dark Motes, and how to acquire them. This is the foundation on which all following encounters are built.
- Stand in the dark and kill an Knight Echo to get a dark mote
- Collect 5 Dark Motes to get a charge
- Strong attack with the charge on the Dark smoke to cleanse it
- Stand in the light and kill an Knight Echo to get a light mote
- Collect 5 Light Motes to get a charge
- Strong attack with the charge on a Light smoke to clense it
- Do this in each section of the hallway
Knight Echoes are the only enemies that drop motes. To get a Dark Mote, defeat a Knight Echo when standing in the shadows. To get a Light Mote, be standing in the light when killing an Echo.
It's important to note that the type of mote dropped by a Knight Echo depends on where you are standing when it dies. If you fire a shot while standing in the light, then move to the shadows as the Knight Echo falls, it will be Dark Motes that drop. Ensure you're standing in the light when the Knight Echo dies if you want Light Motes, and in the shadows when it dies if you want Dark Motes.
Collect five motes of the same type to receive a charge. This charge must be used on the smoky plate of the same color. So if you get a Light Mote Max charge, it must be used on the Light plate. Hope onto the plate and press R2/RT if you're using a controller, and LMB if you're using a keyboard and mouse.
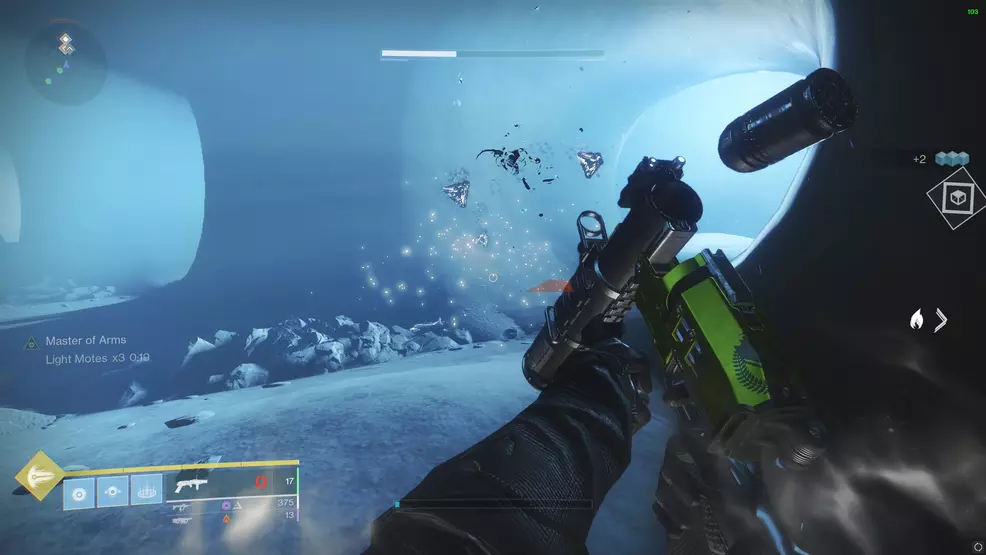
The Light and Dark Motes last for 30 seconds when collecting them and when the charge is full. When collecting the motes, be careful not to collect a mote of a different element or else it will change your type and reset your progress.
Each mote you pick up will refresh the 30-second timer. If you are carrying two motes from a stack of three dropped by a Knight Echo, you can pick the third one up a few seconds later to top off your timer and make life a little easier.
There’s no time limit in this first section. Simply defeat Knight Echoes and cleanse the plates to move down the hallway. When you get to the end, climb up the rubble into the first boss arena.
Phalanx Echo boss fight
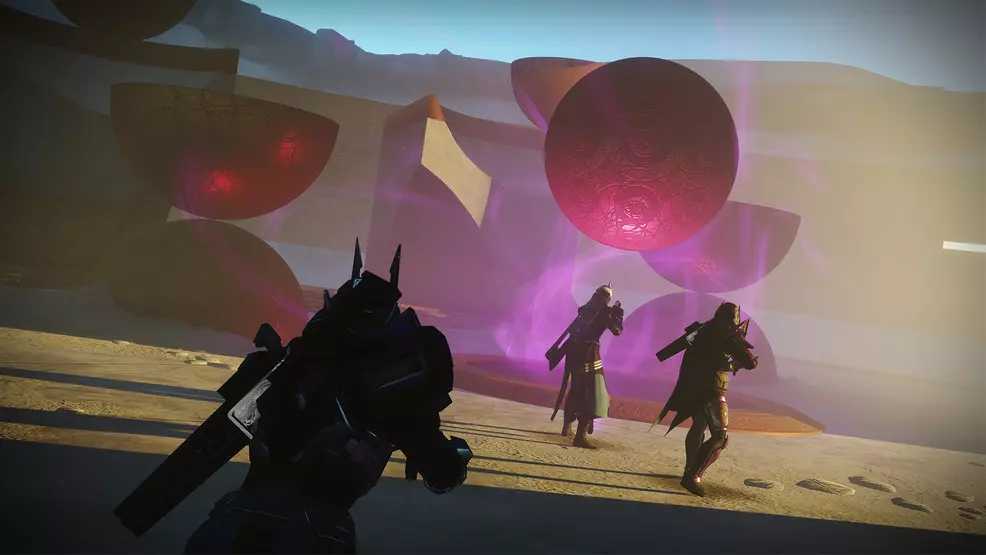
The Phalanx Echo is the first boss fight in the Prophecy dungeon. For this fight, players will need to cleanse the four plates before being able to deal damage to the Phalanx Echo.
- Collect Light Mote and Dark Mote charges
- Cleanse all four smoke plates
- Damage the Phalanx Echo boss
- Repeat the steps
Much like the tunnels before the encounter, the fight relies on the collection of Light and Dark Motes to cleanse the plates. Because the arena is so small, it will be a battle to simply stand in the right spot to get the correct mote without getting downed. Use the outer structures as cover and, don't be afraid to place a Whitherhoard shot behind you to cover your six.
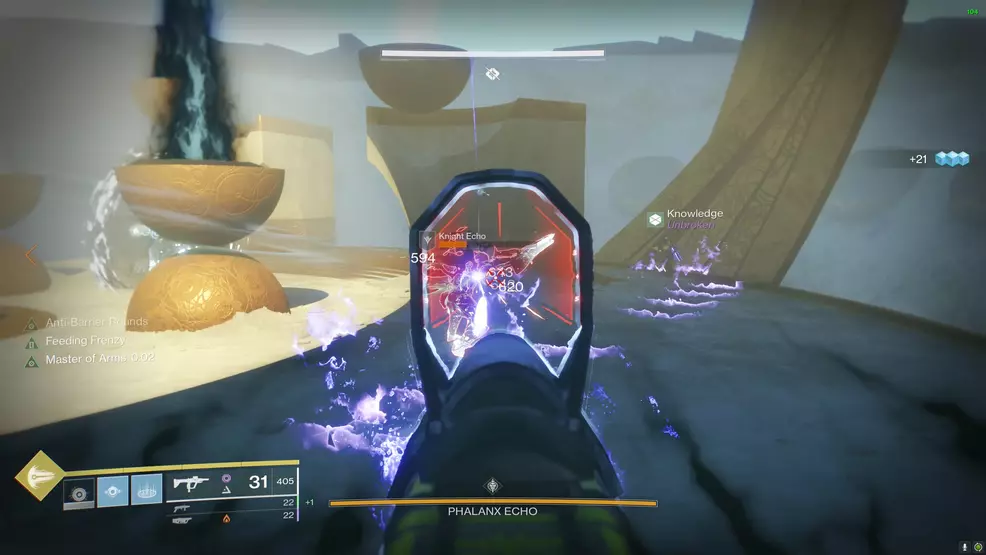
The best tip here is to coordinate with your teammates to get the same mote charge first. This way, there is no risk of accidentally resetting a charge. My group designated the highest Power Guardian as the mote collector since they were able to take more damage and stay alive.
When all four plates have been cleansed, focus on dealing damage to the Phalanx Echo. Depending on your Power level and fireteam loadouts, it’s possible to take of a considerable amount of the boss’ health in a single rotation. It's very doable for three Guardians to "one-phase" this fight. Have a Warlock drop a Well of Radiance and then beat the hell out of Phalanx Echo with the Falling Guillotine. If you've got a build that utilizes the Oppressive Darkness mod for Void grenades, hit the boss with it as you begin to do damage.
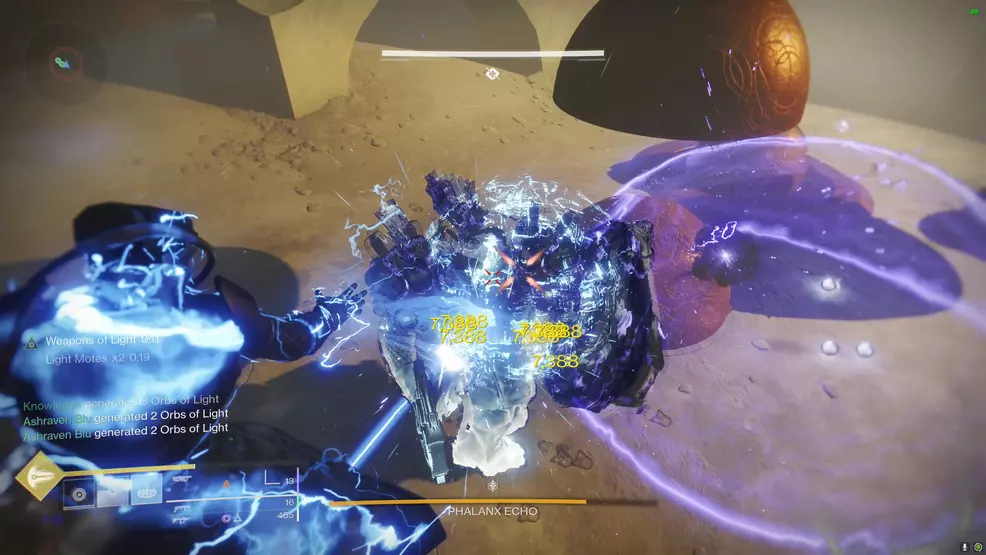
As the Phalanx Echo becomes immune, shift back to a defensive mode and focus on cleansing the plates again. Repeat this process until the boss is defeated.
To move to the next encounter, all fireteam members must stand in the center on the sandy plate.
Wasteland – Navigate the expanse
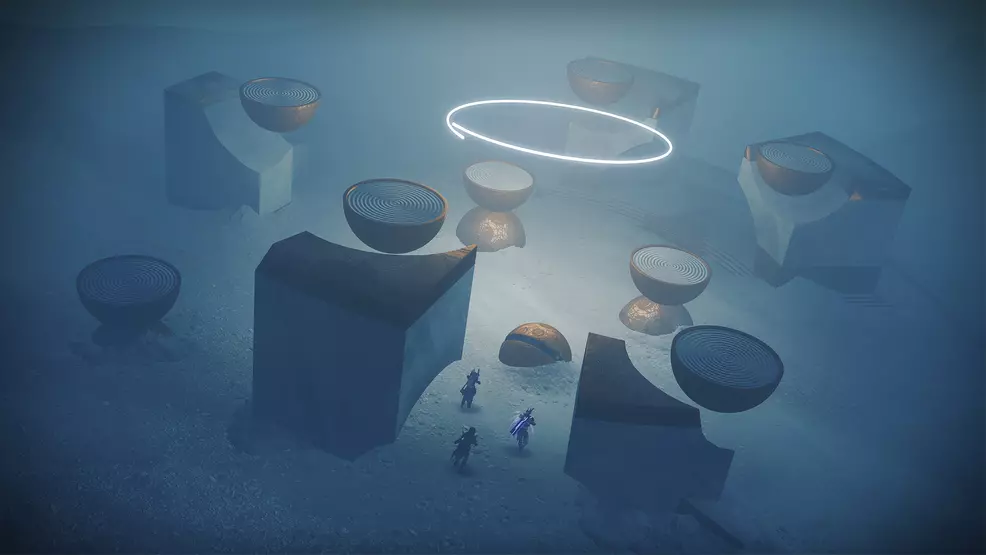
The Wasteland is a large open space filled with rubble of areas players have seen in other locations. For this section, players will need to hunt down Taken enemies and clear the area of Taken Blights. It’s rather straightforward. Just use your Sparrow to get around quickly and group up to clear the Taken. If you get stuck, look for Toland, as he's usually a reliable source when it comes to where you should go.
Escape the Wasteland by finding the large stone building with a slim entrance. This is a tight tunnel full of pink light that leads to the Hexahedron.
Hexahedron
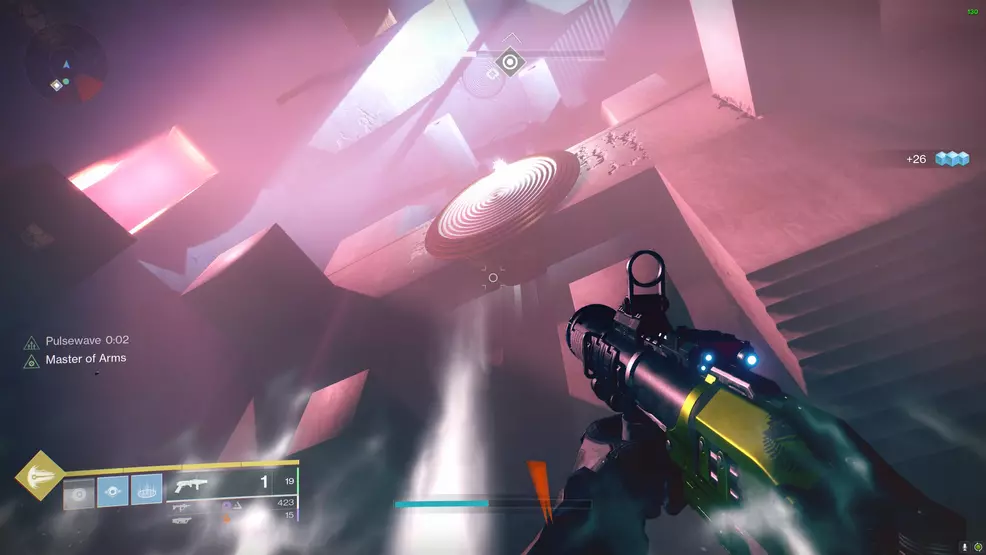
The encounter in the Hexahedron tasks players with following the Toland light orb around the sides of the room. This is accomplished by “flipping” the environment by picking the correct Light or Dark plate to cleanse. This lights up one side of the cube floating in mid-air. To pick the correct side, find where the Toland light orb is and cleanse the plate below it. If Toland is at the top center of the room on the "roof", cleanse the plate which corresponds with the side of the cube that is not lit. In total you will flip the room six times, with the final encounter not requiring any Light or Dark Motes, just that your team defeat two bosses, neither of which are at all difficult. In the event you flip the area the wrong direction, you will just need to continue collecting the correct motes to shift the environment to the correct side.

This fight should look something like this for you:
- Encounter begins (this applies to any of the six phases)
- Clean the adds (60-second respawn timer)
- Kill two Hobgoblines
- Acquire the Light or Dark Motes based on Toland's position
- Cleanse the appropriate plate
- Hobgoblins and Knight Echoes will despawn
- Clean the next wave of adds
- Collect ammo and reload weapons
- Stand on the plate in the middle to progress forward
- Repeat until done
Throughout this fight, the biggest challenge will be avoiding getting killed by the Hobgoblins while managing the Knight Echoes. Whenever you kill a Hobgoblin, a Knight Echo will spawn. Use this to your advantage. Remember that Mountaintop and Xenophage are pretty great here.
You must reach the Toland orb six times, essentially lighting up all six sides of the cube that is suspended in the middle of the arena. When you flip the room the final time, you will need to fight two Taken Centurions. These are a pushover and can be quickly dispatched with Power weapons or Supers. At the end of the encounter, return to the Wasteland by finding the skinny opening in the wall.
Wasteland – Follow the Kell Echo
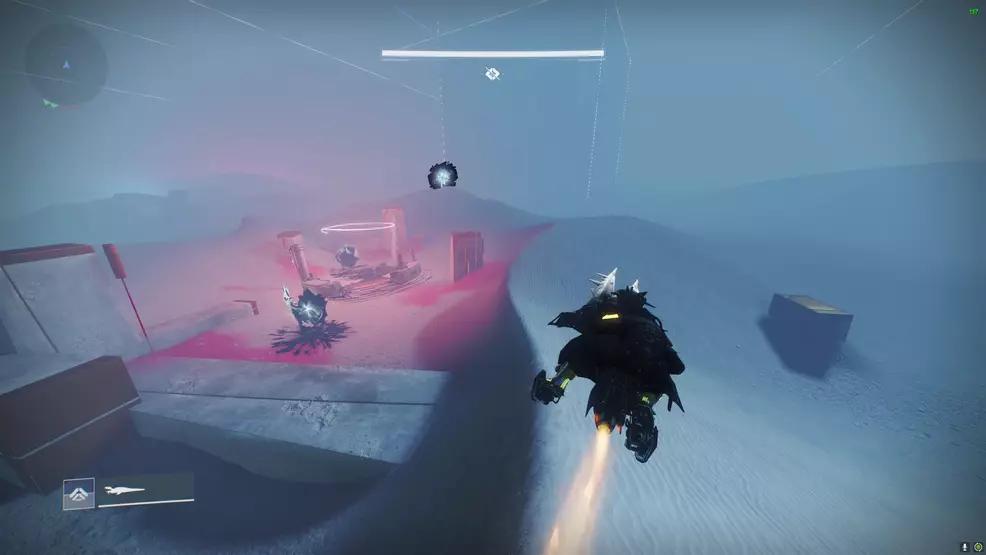
Once back in the Wasteland, simply follow the Kell Echo all the way to the opposite side. Use your Sparrow to make the process quicker.
Singularity – Deadsea
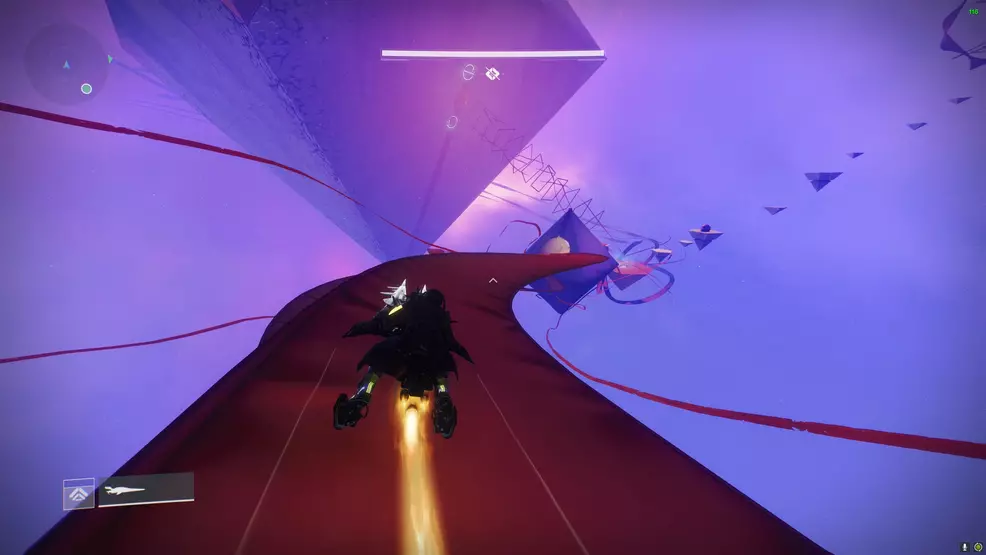
The Singularity area of the Prophecy dungeon has players cross the ribbons and diamonds to reach the very bottom. You can either use your Sparrow or run through the area. The last diamond before the huge diamond in the distance contains a secret weekly chest. When you reach the final diamond before the huge one, go to the right as you enter and drop into the hole. Follow the path and jump across the gap. It's here that you'll find that secret chest. Backtrack into the main part of the diamond.
When you’re ready, go up into the large diamond by standing on the platform.
Kell Echo boss fight
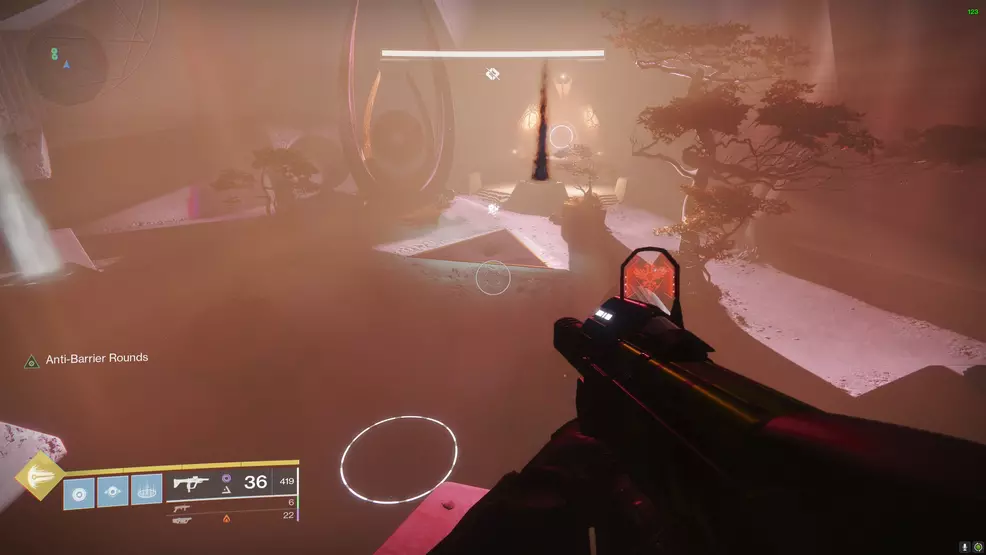
The Kell Echo boss fight in the Prophecy dungeon is rather simple, although the enemies are quite tough. When in the main room, there will be three plates that must be cleansed. Collect the correct motes and remove the Light or Dark effect. This room will have three versions of the Kell Echo shooting you from the corners, Knight Echoes, as well as Ogres you need to fight. Here's a breakdown of how you should approach the fight:
- Approach the Toland wisp to begin the encounter
- Three Kell Echo bosses spawn
- Identify what type of motes you need
- Kill two Knight Echoes, ensuring they drop the motes you need
- Collect the motes and cleanse the first plate
- Kill the Ogre that spawns at that plate
- You will need to cleanse the other two plates using the same method, ensuring you kill the ogres
- The enemies will despawn, collect ammo and move to the center
- Chase the Kell Echo down the hallway, killing Hobgoblins and dodging its attacks
- Damage the Kell Echo as you chase it and consider dropping damage on it at the very start and end
- Repeat the steps until the Kell Echo is defeated
Keep in mind that adds are on a 60-second respawn timer. When you clear the three Kell Echo bosses, do an ammo run and reload before initiating the damage phase. It's also smart to move your fireteam to the empty side of the room after you cleanse the first plate and kill the Ogre, as there will no longer be a boss there shooting at you. This part of the encounter gets easier as you progress. When the room is clear, everyone will need to meet in the center to be taken to the boss damage area.
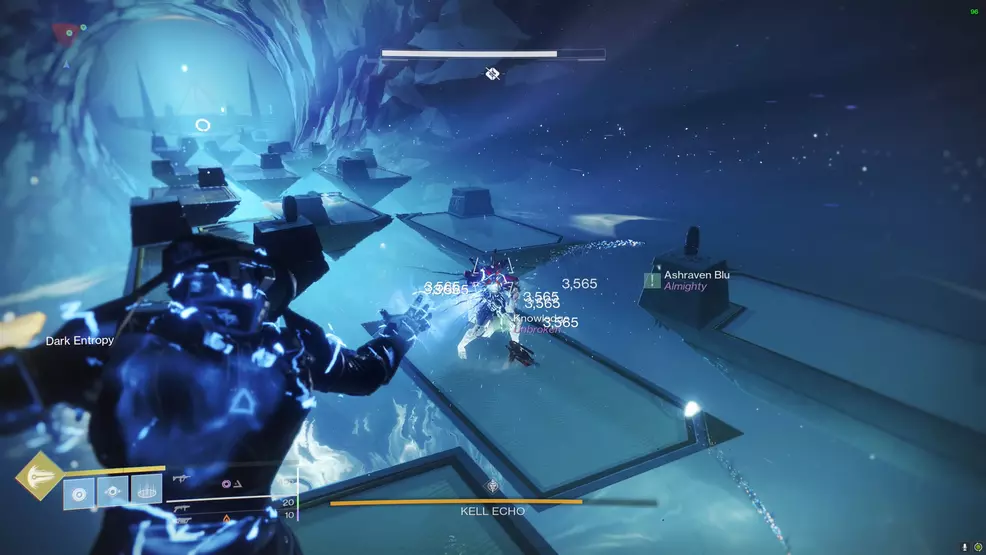
The boss room is a long hallway with platforms stretching the length. The Kell Echo will have an area of effect you need to stand in to avoid getting a Dark Entropy debuff. At a count of 10 Dark Entropy, you will die. The Kell Echo also has a large attack that teleports you to the start of the hallway. This attack can often clip through cover, even if you think you're safe, so use extra caution.
Chase the Kell Echo down the length of the hallway, avoiding its attacks and dealing with the Hobgoblins that spawn. When you reach the very end platform, the Kell Echo will remain there for about 20 seconds. It’s at this point you want to unleash everything you’ve got. You can damage the Kell Echo as you push down the hallway, but save your main assault for the end. You can also deal a lot of damage at the beginning of the hallway, as it stays there for a decent amount of time.
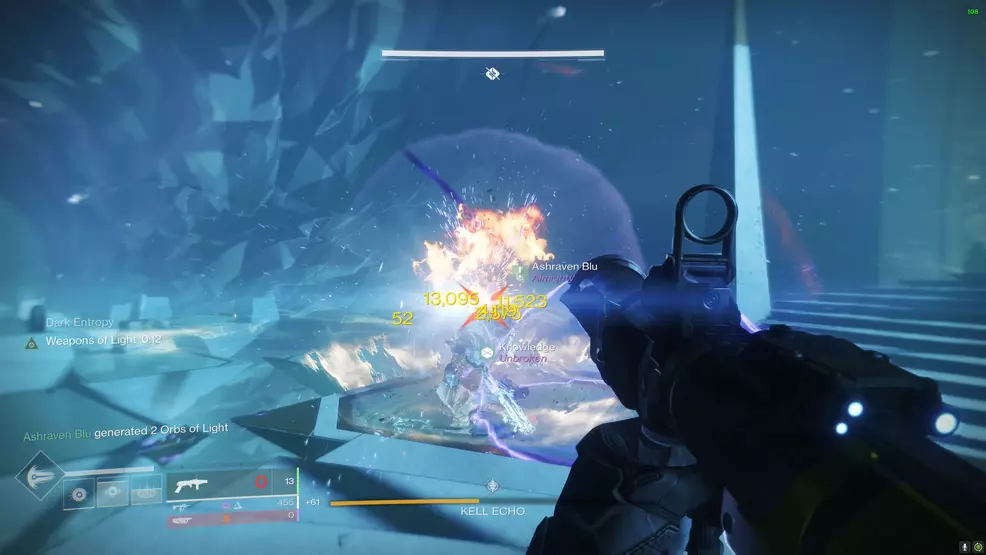
When the Kell Echo is at the last stop, Titan’s should drop a Ward of Dawn for the Weapons of Light or Warlock’s should use a Well of Radiance or Chaos Reach. Utilize your Power weapons to quickly smash through its health. During Season of Arrivals, the Falling Guillotine is a monster at DPS.
If you're struggling using Swords because you keep getting stomped away, consider using a different Power weapon, like Xenophage or a Grenade Launcher. A good tip if you want to use a Sword is have one player (preferably your Titan or Warlock with their Supers) go in and use the Sword until the boss stomps. Once the boss stomps, drop the Ward of Dawn or Well of Radiance and then everyone can jump in. The Sword attacks will keep you glued to the boss while those Supers should keep you from dying.
Don't forget the damage buffs that Tractor Cannon and Divinity can afford your teammates. These can be a good idea for those players that want to dip in and out of the boss' attack range.
After 20 seconds, the Kell Echo will become immune and you will need to go back to the main room by standing in the triangle of sand. Repeat the entire process until the Kell Echo is defeated. When the boss does drop, you can continue to the treasure room where the Emissary of the Nine awaits, along with a chest with Pinnacle gear.
The Prophecy dungeon is one of the shorter dungeons in Destiny 2. The Pit of Heresy feels more complex while the Shattered Throne is undeniably the biggest. However, the experience is tight with some challenging mechanics and plenty of add control. Make sure you utilize this Prophecy guide as you and your fireteam learn the ropes. For more end-game articles, check out the Shacknews Destiny 2 guide.
-
Sam Chandler posted a new article, Prophecy dungeon guide - Destiny 2


