How to capture gameplay in Red Dead Redemption 2 for PC
If you want to record and share your cowboy exploits in Red Dead Redemption 2, following our guide will help you get excellent results.
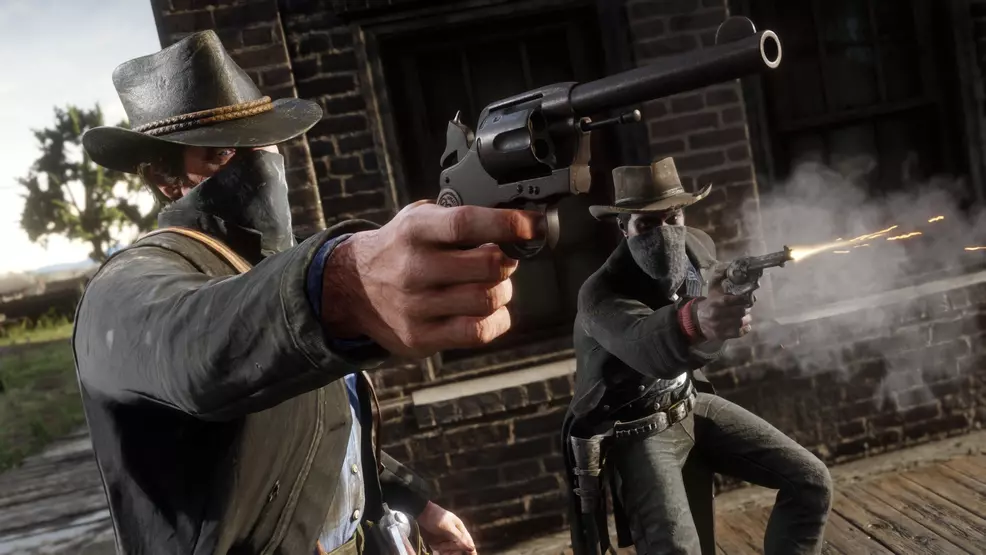
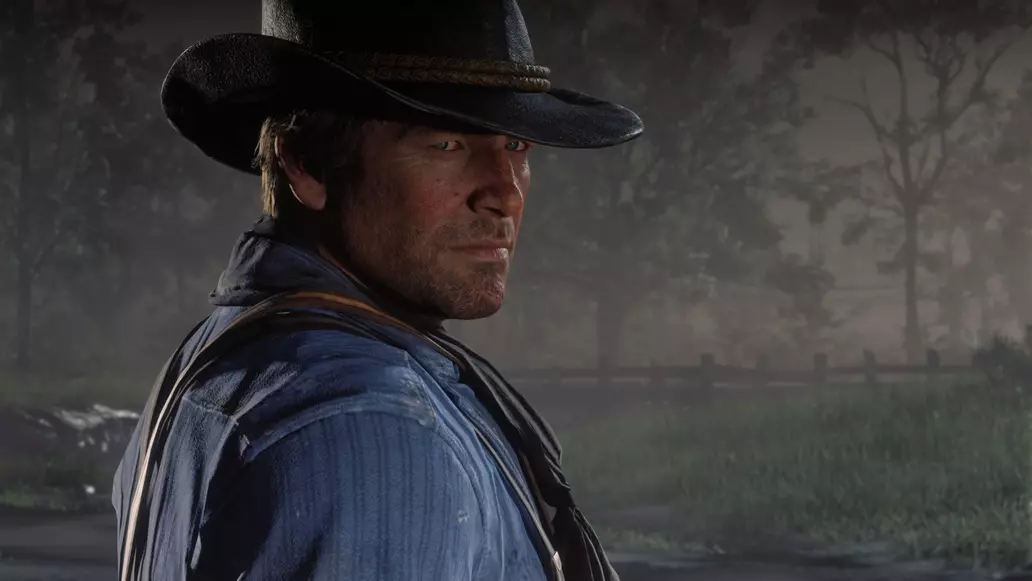
After more than a year of waiting following the console release, Rockstar’s sprawling cowboy adventure Red Dead Redemptions has finally arrived on PC. Featuring support for high resolutions, uncapped frame rates, and a wealth of graphical upgrades, the PC version of the game will likely be the definitive way to experience the tale of Arthur Morgan. With hundreds of hours of potential gameplay scenarios and endless wild west hijinx, many players will be looking to record gameplay footage so they can share their experiences with friends or online.
There are a few different ways to capture gameplay footage from the PC version of Red Dead Redemption 2 and this guide will go over your options and offer some helpful tips to make sure you get excellent results.
How to capture gameplay in Red Dead Redemption 2 for PC

Being a game on the cutting edge of new technology, Red Dead Redemption 2 makes use of the latest graphics APIs on PC, offering support for both Vulkan and DirectX 12. Because of this, you’ll want to make sure your system is up to date with the newest drivers for your GPU. NVIDIA recently released a Game-Ready driver for Red Dead Redemption 2 ahead of the game’s launch.
NVIDIA Shadowplay
If you own an NVIDIA GeForce GPU, getting set up to record your Red Dead Redemption 2 exploits will be pretty easy. The GeForce Experience software package is included with default installations of NVIDIA drivers and includes a handy in-game overlay that allows you to capture video of your game in real-time. If you have the latest drivers and GeForce Experience installed, you’ll notice a quick pop-up in the top right corner of your screen when you launch the game alerting you to the presence of the GeForce overlay.

By default, this overlay will record clips of your game using your GPU for encoding. Hitting Alt+F10 will output a clip containing the last 5 minutes of gameplay. To begin recording a clip manually, hit Alt+F9, you’ll notice a small green indicator in the bottom right-hand corner of your screen letting you know that recording is in progress. Hit Alt+F9 once more to stop the recording and the green indicator will disappear.
You can change your recording settings by hitting Alt+Z while in-game and adjusting parameters like clip length or bit-rate. You can also choose to enable your microphone, as well as split your mic and game audio into separate tracks. By default, all recordings are saved to your My Videos folder in Windows under Shadowplay Recordings. As a general rule, higher bitrates offer higher quality at the cost of disk space. The default settings for bitrate offer a nice balance between quality and disk space and allow for easy uploads to places like Youtube.
OBS Studio
You can also record Red Dead Redemption 2 gameplay by using OBS Studio. To get started, create a new Scene or use the default scene, then create a source. For capturing Red Dead Redemption 2, you have a couple of options. Window Capture source works well if your game is running in a window and Game Capture should work if you are running the game in exclusive fullscreen mode.
Make sure the game is running first, then right-click either the Window Capture or Game Capture source and click Properties. A window will pop up and there will be a drop-down menu where you can select the Red Dead Redemption 2 executable. Once you do this, you should be able to see the game in the OBS Studio preview window.

Before you start recording, you’ll want to make sure you select the correct resolution and frame rate for your recording canvas, as well as the encoder that works best for your needs. In OBS Studio, click File > Settings. From this window, select Video. The Canvas resolution should match your game’s resolution. If you are playing at 2560x1440p, your canvas resolution should match this. Output resolution is where you choose what resolution you game is captured at. You may keep it matched with the Canvas resolution or opt to go lower (if you play at 4K but only want a 1080p capture, for example).
From the settings window, you should now select the Output tab. From here you will select your encoder. You will have two options: x264 and NVIDIA NVENC. The x264 encoder uses your CPU to encode the gameplay capture and offers increasing quality as you raise the bitrate. Higher bitrates and resolutions require lots of CPU power. NVENC uses NVIDIA GPUs to encode gameplay capture and is the same technology behind Shadowplay recordings.

In the recording section of the Output tab, use the Recording quality pulldown menu to select the High Quality, medium file size option. Make sure to select MKV as your output format. Click OK and you will return to the main OBS Studio window. Ensure your preview window looks correct. If the game capture is too small or stretched too large in the preview window, right-click your capture source and select Transform > Fit to screen. This will ensure that the source fills the Canvas.
Click Start Recording to begin capturing your gameplay. It is a smart idea to stop the recording and check the output video file to ensure your game video and audio were recorded properly. If so, you are good to go. If the capture is not working properly, refer to the OBS Studio documentation for additional help.
Now that you are set up to make quality recordings of steering your horse in front of trains and trying to shoot fish with a bow, you’ll be an internet star in no time. For more guides, hints, and walkthroughs for Red Dead Redemption 2, make sure to visit our RDR2 hub at Shacknews.
-
Chris Jarrard posted a new article, How to capture gameplay in Red Dead Redemption 2 for PC


