Promised Consort Radahn guide - Elden Ring
Learn how to dodge Promised Consort Radahn's attacks and achieve victory in Elden Ring.
As the final boss in the Shadow of the Erdtree expansion for Elden Ring, Promised Consort Radahn puts up a tremendous fight. He has some massive combos, hits hard, and is hyper aggressive, and that’s all before you reach the second phase where he becomes Radahn, Consort of Miquella. For some players, this fight must seem unfair or impossible, but if you take the time to learn his attacks, he becomes much easier to handle – he’s still hard, though.
Promised Consort Radahn build guide
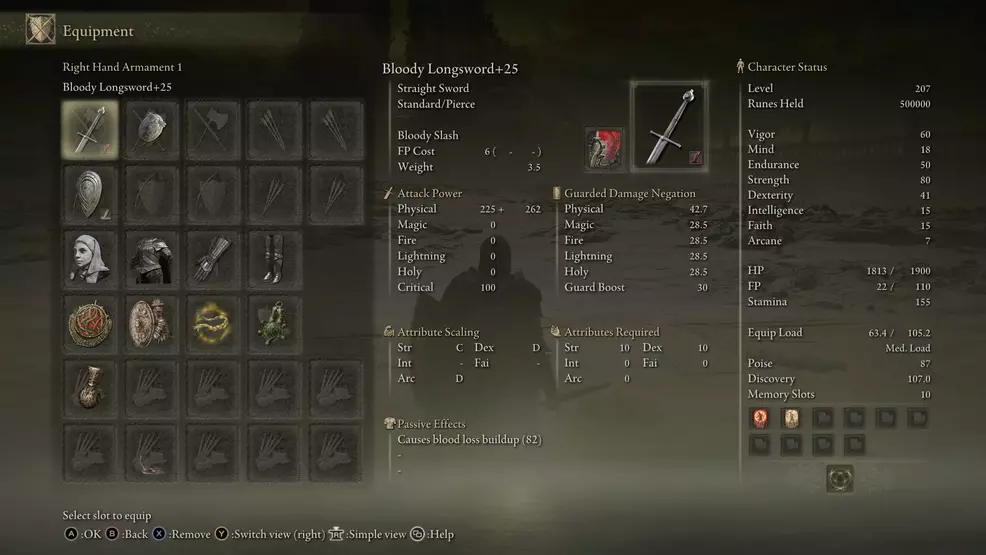
When it comes to what build works best against Promised Consort Radahn, it’s going to come down to personal preference. For my clear, I was on New Game + and used a +25 Longsword with Blood on it to proc Blood Loss. I used a standard kite shield and opted for no summons (no players, NPCs, or Spirit Ashes).

Source: Shacknews
If you choose to go for a Blood Loss build, it might be worth acquiring the White Mask which increases your damage when Blood Loss is triggered. It will only be active for roughly 20 seconds, but it could help you dish out more damage.
Alternatively, as the lore dictates, Radahn is quite weak to Scarlet Rot. If you have a weapon that deals Scarlet Rot or any greases, it could be worth utilizing this for the added damage.
For Talismans, I opted for pure utility as opposed to damage:
- Crimson Seed for the boost to Flask of Crimson Tears healing
- Greatshield for the reduction in stamina usage when blocking
- Golden Braid for the holy damage negation
- Two-Headed Turtle for the stamina recovery speed
I rounded this off with a Flask of Wondrous Physick that had Greenburst for the extra stamina recovery and Dexterity-knot for the boost to Dexterity (my Strength was already at the softcap).

Source: Shacknews
For the shield, I used the Carian’s Knight Shield for the 100 Physical defense stat. This allows you to completely block a physical attack without taking damage. It also has an okay Holy defense stat, which is bolstered by the Golden Braid. I did equip it with the Vow of the Indomitable Ash of War. This allowed me to completely avoid all damage (including the grab attack) if I wasn’t confident in my dodge.
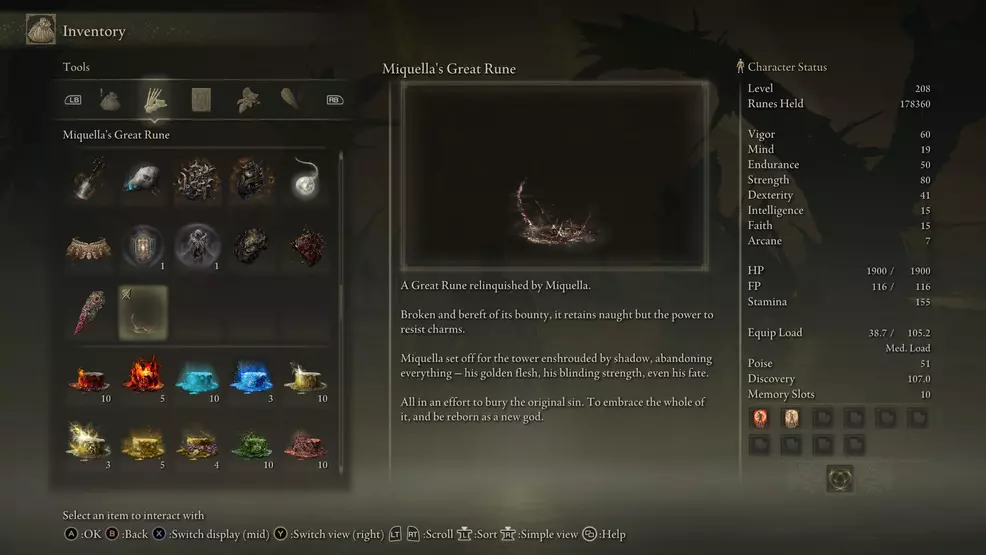
I went with the Armor of Solitude for its high Holy defenses. I found myself more likely to get hit by that than anything else. This armor allowed me to stay at Medium Load. As for spells and incantations, Flame, Grant Me Strength was used right at the start for a tiny bit more damage in a bid to push through phase one quicker. Finally, make sure you have Miquella’s Great Rune to remove the charm he gives you if you get hugged.
Promised Consort Radahn
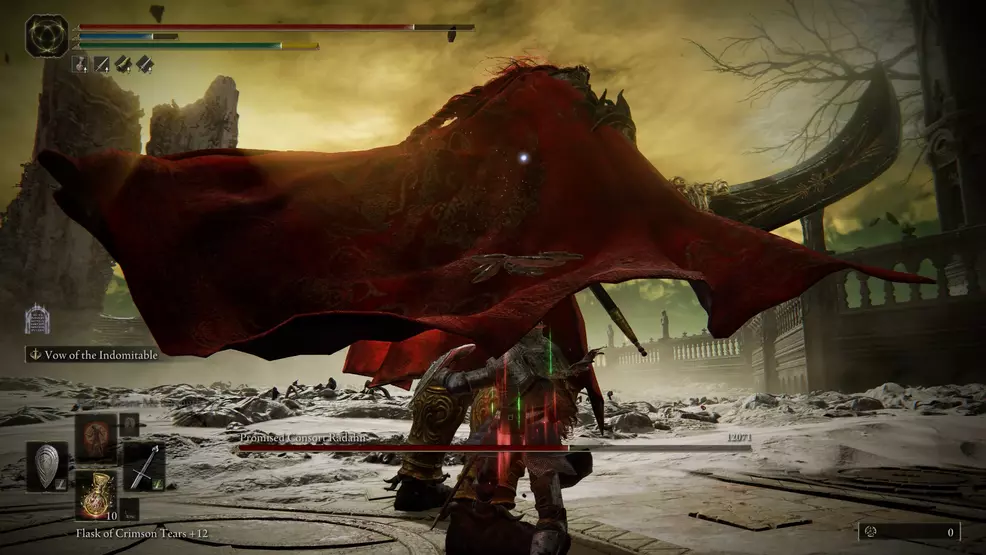
Promised Consort Radahn is the first phase of this boss fight and your opportunity to completely learn his moveset. All of his phase one moves appear in phase two, albeit with the added spice of Holy damage. If you can read and react to them here, you can do the same in the next part. The key takeaway is to only ever go for one or two hits – don’t get greedy and go for three. Dodging left or directly forward is also important, as is staying right up in his face (for sword users).
Prepare your buffs before you enter (Flame, Grant Me Strength and the Flask of Wondrous Physick, or greases) as you won’t get much of a chance once the fight begins. As you walk through the fog, immediately lock on to Radahn and take a few steps forward.
Gravity Corkscrew
Radahn’s most common first attack is a Gravity Corkscrew. He will hold up his blades parallel to each other and imbue them with gravity magic. He will then leap forward, spin through the air, and slam on the ground.
This one is simple to dodge: Roll left just before he lands. If you can see his sword color and position as he's telegraphing the move, you'll know it's coming and can prepare to roll.
Gravity Crossblade (pull attack)
One of the most brutal attacks that Radahn does is a Gravity Crossblade where he crosses his blades to form an X and imbues them with gravity magic. He will pull them apart, drawing you in, and if you’re caught he will almost always follow up with a spike-generating stomp.
Whether it’s the phase one or phase two version, the dodge is exactly the same: As soon as he pulls his swords apart, roll backward once. If timed correctly, the pull radius will pass through you and he will not follow this up with the second part of the attack.
In the event you do get pulled in, there is a brief window where you can run backward and then jump to avoid the spikes.
Gravity Meteorites
Another gravity-based attack of Radahn’s is to dig both swords into the ground and scrape them out as he flies up into the sky. After a brief moment, he’ll send down eight meteorites.
To avoid this attack, dodge backwards as he is ripping his swords out of the ground. As he sends the meteorites, run to the left or right and jump before the first one hits.
When Radahn lands, he will typically follow up with a gap-closer. This might be his Gravity Crossblade, Gravity Corkscrew, or even his Lion's Claw flip. Be prepared to dodge any of these.
5-hit Combo
The 5-hit combo is one of the easiest ones to punish. Radahn will slam down his right sword and take it to his left side. He will then swing his blades one at a time in front of him. Both swords will then be slammed into the ground before being ripped out to release a shockwave. This combo may be preceded by a simple stomp.
To avoid this every single time, roll left on the first sword attack. Roll forward on each sword slash when both swords are coming from the same direction (you’ll be rolling into his feet). As he slams his swords down, roll forward-left to try and get behind him. The final roll should be toward him as he’s ripping his swords out of the ground.
Other normal attacks
Radahn’s other attacks are all normal, sword-based combos and are easier to read and avoid. For example, he has an attack where he drags both his swords through the ground, rips them out, and then slams them back down. If you’re caught you’ll be flung into the air and slammed to the ground.
The toughest normal sword attack to dodge is where Radahn slashes once with each sword and then does a scissor-like slash. It’s incredibly difficult to avoid both of the slashing attacks (dodging one will mean you get hit by the other). Your best option is to block the first and roll through the second and scissor slash. Sometimes a double forward roll will have you avoid all damage.
Radahn, Consort of Miquella

Source: Shacknews
After you remove slightly more than 33 percent of Radahn’s health, phase two will begin and he will transform into Radahn, Consort of Miquella. Radahn will now have Miquella on his back, receives a few new moves, and will deal Holy splash damage after every single attack. The biggest tip here is: Do not be directly in front of him after he attacks, roll to the left or forward-left to get behind him. Most of the Holy blasts follow the trajectory of his sword swings.
If you are close enough to Radahn, you will not get hit by any of the Holy blasts that trail off his standard attacks – provided you can actually dodge the physical swings.
T-pose Holy bubble
Radahn will start to float into the air, holding his arms out to form a T. As this is happening, the area in the immediate vicinity will glow gold. After a brief delay, a Holy blast will occur followed by several Holy strikes. The only way to completely avoid taking damage is to sprint outside the area of effect.
However, it can be beneficial to simply block with a shield. You will take damage, but Radahn is completely exposed while floating and does not attack while coming back down. This will let you get in a few free hits, block some of the blast, and then another free hit while he is finishing the animation.
Charm hug
To avoid the charm hug, it’s important to not roll as soon as Radahn jumps. He will jump and hang in the air before swooping down. Dodge while he is hanging stationary in the air. Alternatively, using Vow of the Indomitable after he jumps will let you avoid getting hugged.
In the event you get hugged, you must use Miquella’s Great Rune to remove the charm. If Radahn hugs you again while you have the charm above your head, you will instantly die.
Holy tactical nuke
This is the big one that harkens back to Radahn’s re-entry during the fight in Caelid. After raising his swords up and imbuing them with Holy energy, he will crouch to the ground and then spring up into the sky. After roughly 5 seconds, he will slam back to the ground after sending down clones of himself. This slam will obliterate the area with a Holy blast.
The best way to dodge this is to hold for a few second after he leaves and then sprint as far away as possible. Turn the camera as you’re sprinting so you can see when he starts falling to earth. The timing doesn’t seem too strict and provided you’re far enough away, you will either sustain zero damage or minimal.
Sky clone slam
This move is most common after the Gravity Meteorite attack. Radahn will send down four copies of himself before he slams to the ground. Each clone does a little bit of damage while the real Radahn does a massive slam followed by a large Holy AoE blast as he rips his swords out of the ground.
The easiest way to avoid this is to just block the first four clone hits. After you count four hits, roll to the right to avoid Radahn’s slam and then roll left to avoid the Holy blast as he rips his swords out of the ground.
The second roll back in toward Radahn will have you clear the Holy blast as it ripples outward. This will position you for an easy two-hit follow-up.
Forward clone dash
Radahn will send his clone dashing forward a few times and then follow it. As Radahn dashes, a trail of Holy blasts will ignite along the right side of his passage.
To avoid the clone and the blast, stay locked on and always dodge to the left.
5-hit combo with Holy blast
This attack has the exact same rhythm as it does in Phase 1, except in Phase 2 it has a Holy blast when he rips his sword out of the ground and after each swing. Dodging this is the exact same as it is in the first phase.
Radahn may start with a stomp, if he does, roll forward to avoid it or block as seen in the above video. Then roll left to avoid his right-arm, then roll forward twice: this will see you avoid the one-two sword slash. Next, roll forward-left to avoid the slam and finish with one roll toward Radahn's back to avoid the blast.
The Promised Consort Radahn fight and the Radahn, Consort of Miquella second phase section are some of the most demanding and visually impressive fights in Elden Ring. While it may seem overwhelming at first (and it is), once you can learn Radahn’s attacks, it becomes much more manageable trying to get in your own attacks. With a bit of practice, you’ll walk away victorious – especially if you bring in some NPC summons or the mighty Mimic Tear. Be sure to check out our Elden Ring Strategy Guide for more help with the Shadow of the Erdtree expansion.


