How to use Photo Mode in Assassin's Creed Odyssey
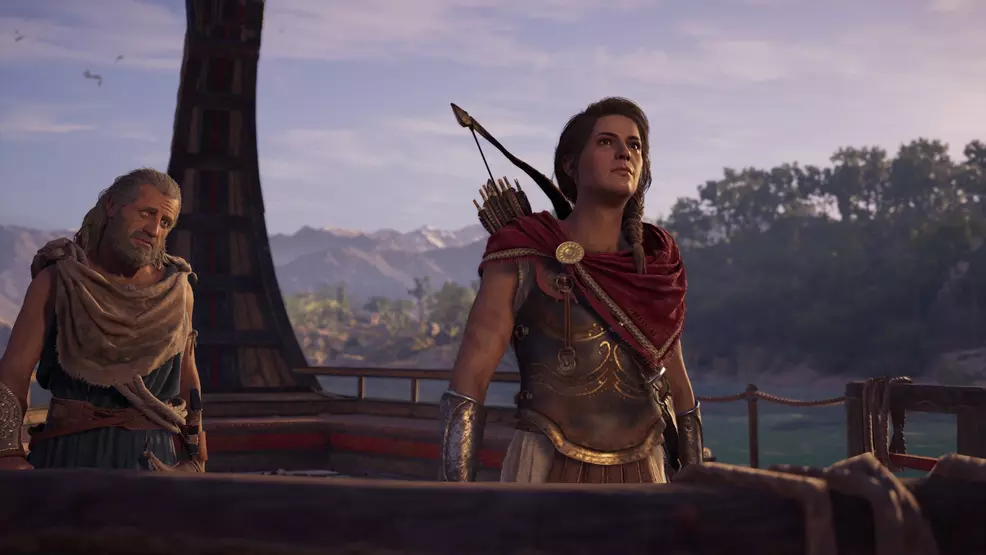
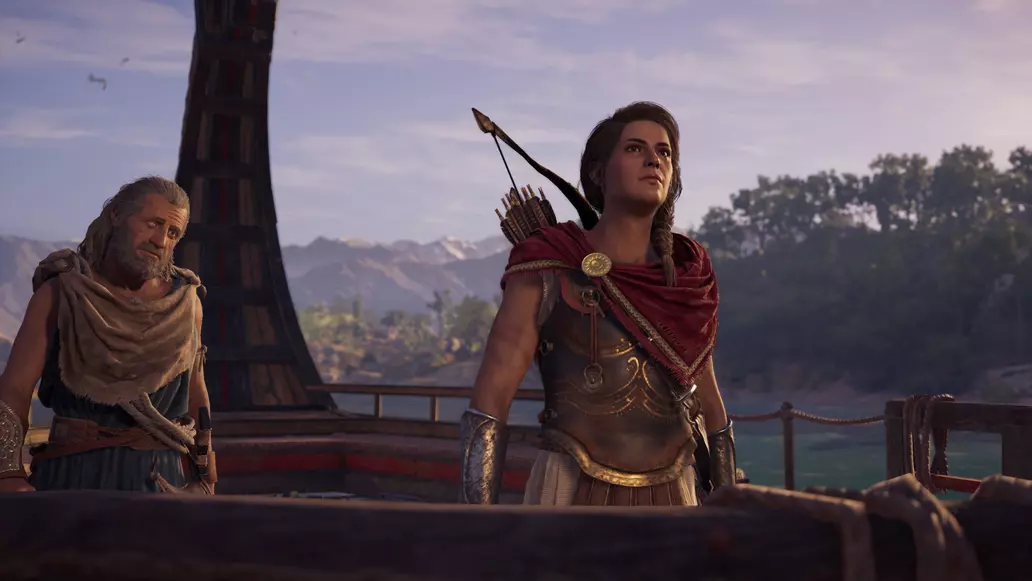
Capture the essence of scenic vistas or glorious battles by taking and editing images with Assassin's Creed Odyssey's robust Photo Mode.
The raw power of modern consoles and personal computers allow players to experience immense graphical fidelity and games, but they don't exactly allow us to share our favorite sights with others. That's why games like Assassin's Creed Odyssey now feature a Photo Mode, where users can capture all the finest details and showcase some of their biggest accomplishments. Using the Photo Mode is generally straightforward, but there are a few buttons and functions players should know before getting started.
How to open Photo Mode

The first step in using the Photo Mode in Assassin's Creed Odyssey is to make sure that it's actually been enabled. If for some reason Photo Mode doesn't seem to be pulling up, head over to the Options menu, select the Gameplay tab, then double check that the Photo Mode toggle is slid into the On position.
Assuming that Photo Mode has been enabled, players can access it in-game by pressing both R3 and L3, essentially by pressing in both of the analog sticks. On PC, Photo Mode can be summoned by pressing F3.
How to take and edit photos
With the exception of various menus, just about everything in Assassin's Creed Odyssey can be captured within Photo Mode. Time will freeze when Photo Mode is activated, and several basic functions allow players to tweak their captures: left and right triggers can be used to zoom in or out, and pressing the left analog stick will bring up additional options like depth of field, exposure, or saturation. Additionally, up and down on the directional pad adjust brightness, left and right on the D-pad can apply a vignette effect, and pressing the right analog stick left or right increases or decreases the amount of film grain.
When the photo is all lined up and players are happy with the results, the next step is to actually take the photo — this is accomplished using the X button on PlayStation 4, the A button on Xbox One, or the E key on PC.
After photos have been taken, they'll be automatically uploaded to Ubisoft servers and optionally saved locally on the player's console or computer. Xbox One players' photos will be saved to the cloud, whereas PlayStation 4 players can find their saved photos over in the Capture Gallery. By default, PC players will find photos saved within the Documents folder of their specific user account.
With a mastery of the game's Photo Mode now complete, be sure to head over to our Assassin's Creed Odyssey walkthrough and guide to learn loads of helpful tips, boss strategies, collectible locations, and more.


